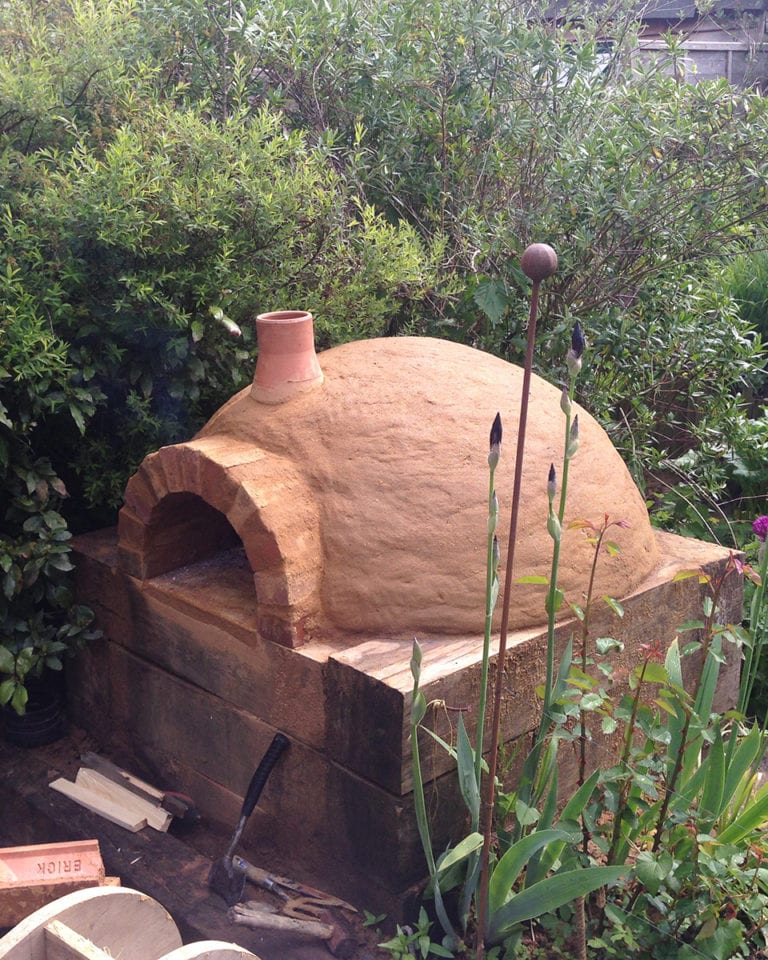
How to build a cob pizza oven
Sophie Pryn
A crisp underside, lightly puffed top and plenty of gooey cheese makes a pizza, cooked in a proper wood-fired oven, hard to beat. But, if you want your very own state-of-the-art pizza oven installed in your garden, prepare for your dreams to be crushed – a quick search online reveals one of these bad boys could set you back hundreds or even thousands of pounds.
Unless, of course, you make your own…
I went on a cob pizza oven building course, run by Kate Edwards and Charlotte Eve at their home in Norfolk, to learn how to do just that. As it turns out, it’s not as arduous a task as it might sound and it will save you A LOT of money. In fact, if you’ve got a decent-sized garden, you can dig the sand and clay used to build the oven out of the ground for free. If not, the materials can be picked up on the cheap from DIY stores. It’s also worth scouring local building sites. According to Kate, contractors will often pay you to take sand and clay off of their hands.
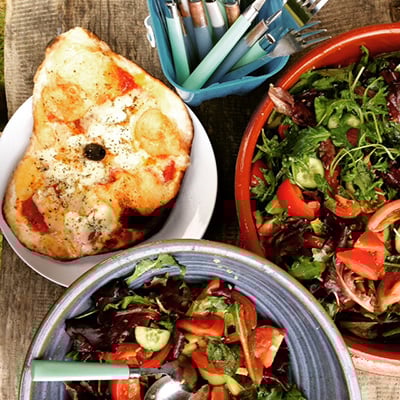
Once finished, your oven needn’t be restricted to cooking pizzas. Bread works well as do whole chickens or a joint of beef. The cob oven is your oyster.
Have I convinced you? Here’s how you do it:
You will need:
For the base
- Stones or bricks
- NHL lime mortar 3.5 or 5 mixed with sharp sand at a ratio of 3:1
For the cob mixes
- Approximately 12 bags of 10mm ballast (also called all-in or light concrete mix)
- Clay
- Fresh straw, not hay
- Water
For the dome
- Sand
For the cooking surface
- Slab of marble or granite big enough to cook one pizza on – you can get cheap off-cuts from kitchen shops
You will also need:
- A tape measure
- A stick with a sharp point
- A pen or pencil
- String
- A paint brush
- Hardwood for the oven door, at least 2 inches thick
- Jigsaw
Please note: The pizza oven needs to dry thoroughly at various stages. It will take about 2 weeks to make in total.
Click next to begin the build.
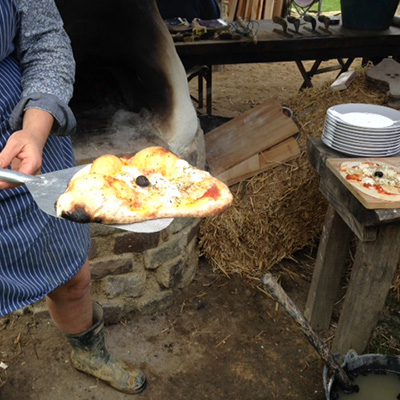
1. Make the base of your pizza oven. You can decide how you do this but bear in mind that the oven is heavy so the base will have to be strong and incompressible. Choose a material that is weatherproof and can withstand high temperatures – the oven can get as hot as 400ºC. A diameter of 1.1m will be enough to cook one pizza at a time. You won’t need it any bigger than this as a pizza will only take 70 seconds to cook. Build it high enough so you can easily tend to the fire and cook the pizzas while sitting down.
Bricks or stones and a lime mortar works well – see above for details.
2. Next, prepare four mixes. Two of the mixes are to make the internal dome of the oven and should be made up of three bags of ballast to one part clay (if you’re using potter’s clay instead of natural dug clay, use a little less). The other two mixes are for the outer insulating layer and should be made up of three bags of ballast with one part clay and one part straw.
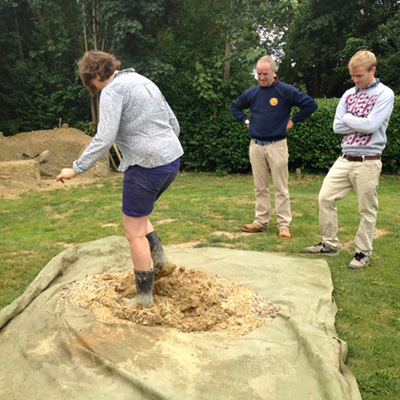
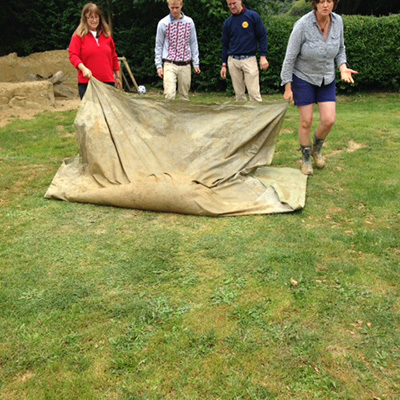
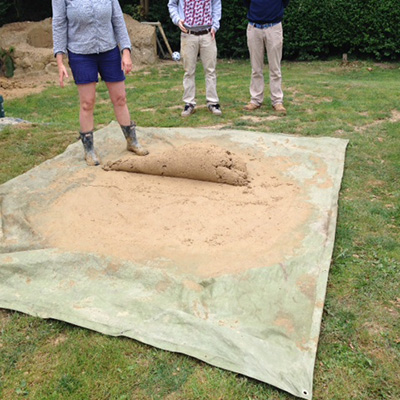
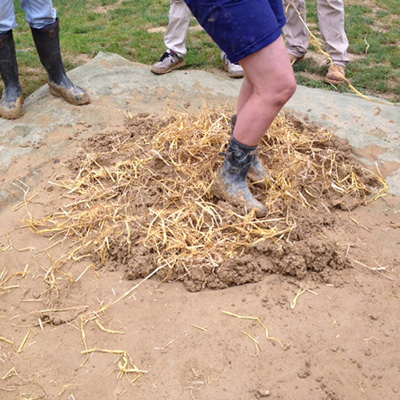
To combine the mixes thoroughly lay out a tarpaulin on the ground, tip the ballast and clay on to the tarp and stamp (or dance) on it.

Add the straw to two of the mixes, combining as above. Set aside.
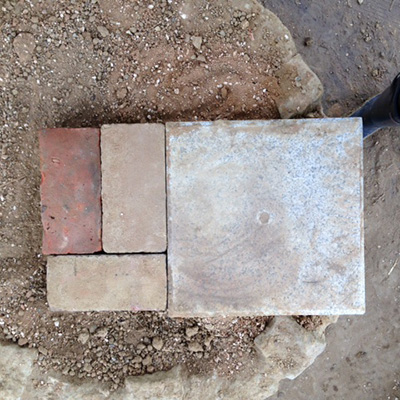
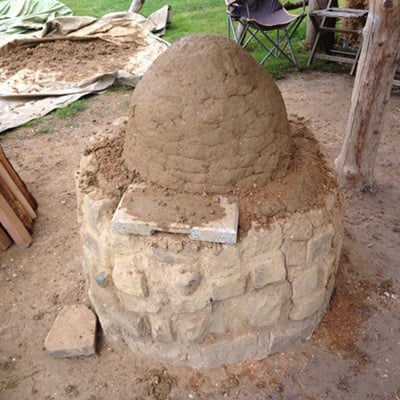
3. To create your cooking surface, lay your granite or marble from the edge of the base. It only needs to reach the centre of the oven – this is enough space for a pizza to be cooked on.
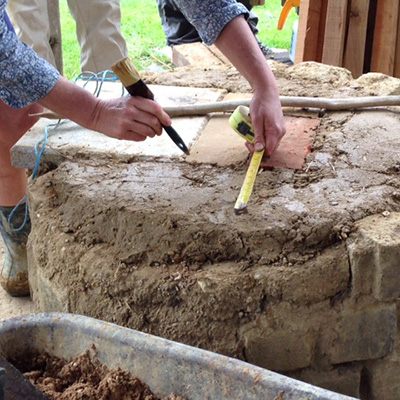
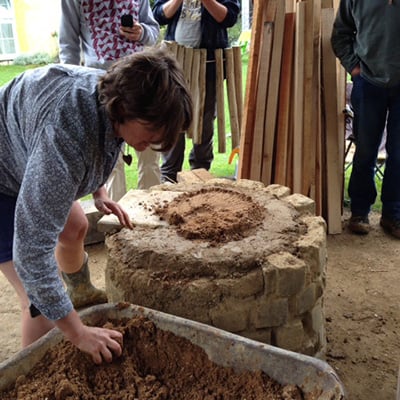
Place a stick vertically in the centre of the cross and get someone to hold it in place for you. Wrap string around the stick in a loop. When the string is pulled taught it should touch one of the marks on the base. Place a wet paint brush into the loop and, with the string still taut, draw a circle on the base in water or lightly score it on with something sharp .
For a smooth flow of air and even cooking, the height of your oven needs to be about 70% of the diameter of your oven. Once you’ve worked this out, mark the height on a stick with a pen or pencil and set aside.
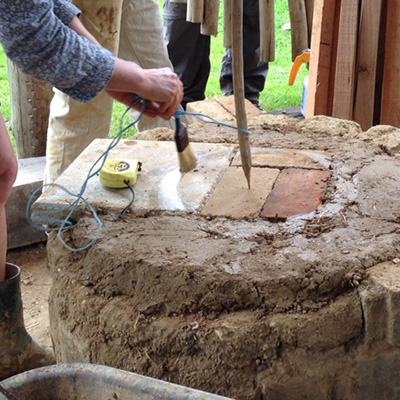
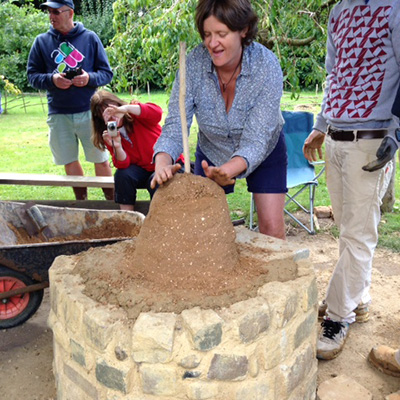
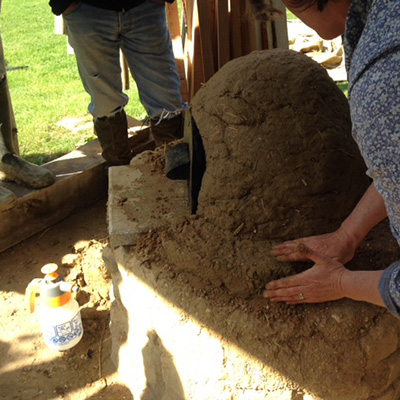
Start to build the sand up in the circle that you’ve drawn on your pizza oven base.
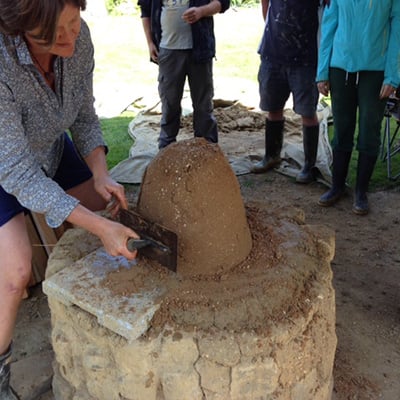
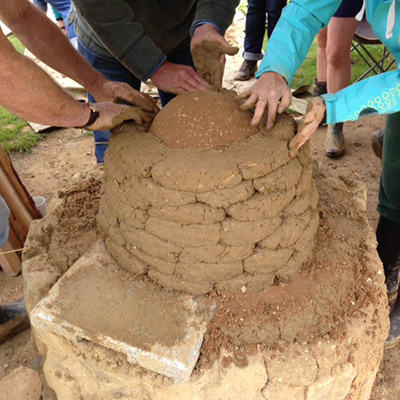
6. To create the first layer of cob, use the cob mix (without the straw in it) to make bricks about three inches wide. Build the cob bricks around the dome, smoothing them horizontally and vertically to ensure there are no gaps between the bricks. Don’t worry about leaving space for the door – the entire dome should be covered at this stage.
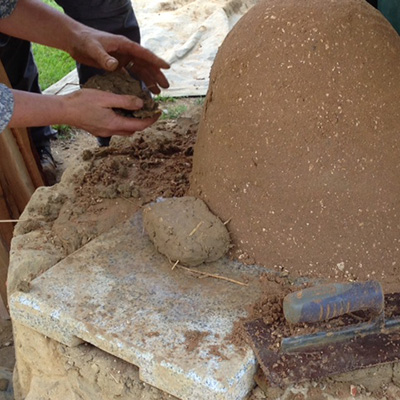
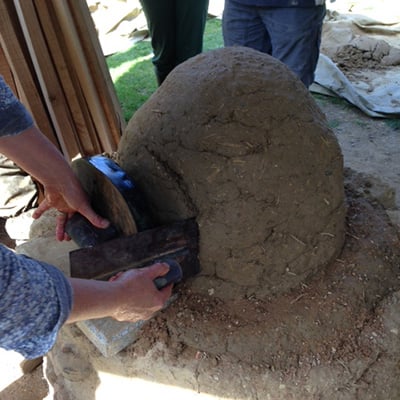
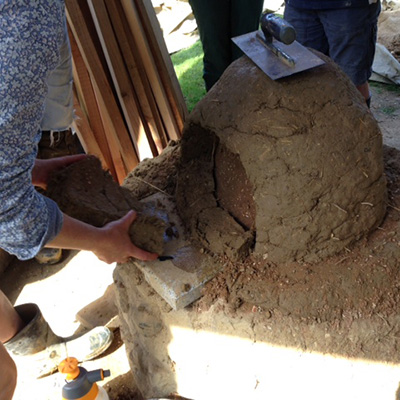
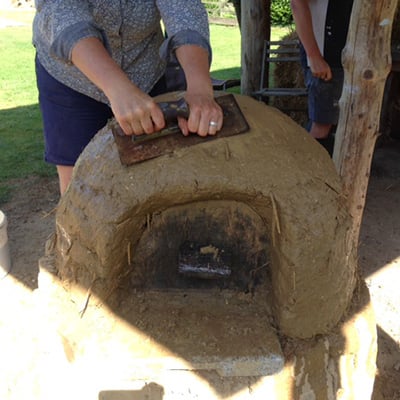
7. To make the doorway, place the door so that the bottom is resting on the cooking surface and against the cob. Use the door as a template and cut around it. Remove the layer of cob under the door to reveals the sand dome beneath it. Check that the door fits in the space and can be easily placed in the doorway and removed again.
8. Put the door back in and build your second cob layer around the sand dome. This time, use the straw cob mix. Repeat the same process you used for the first layer but this time make the bricks fours inches wide. There should be no gaps between the bricks or between the first and second layer.
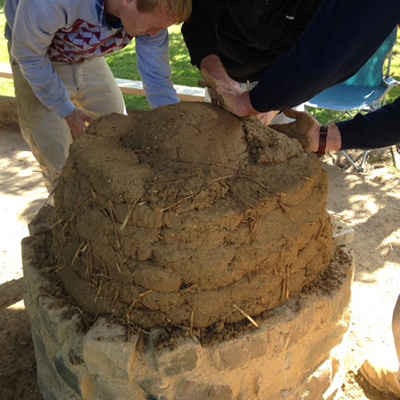
Smooth the dome again and leave to dry for at least two days.
10. To ensure the oven is completely dried it needs to be fired. Ignite some kindling and keep a fire burning for at least six hours.
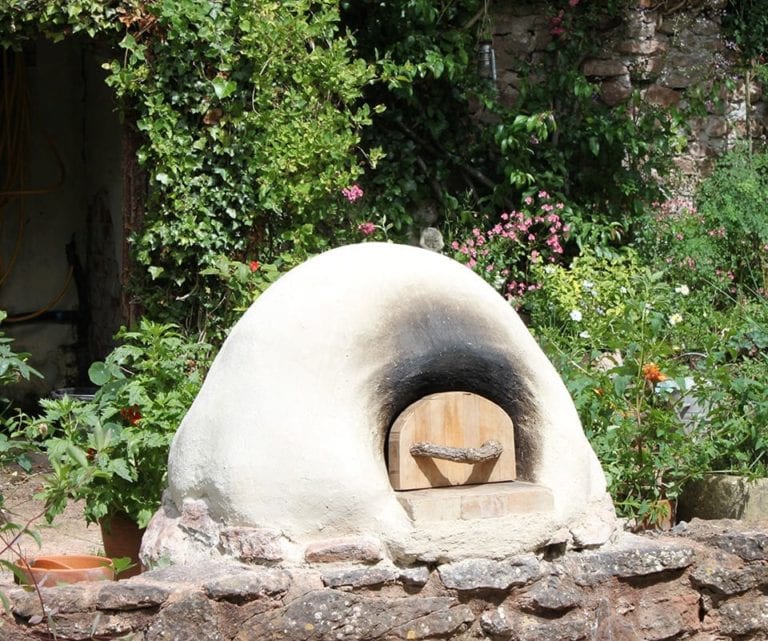
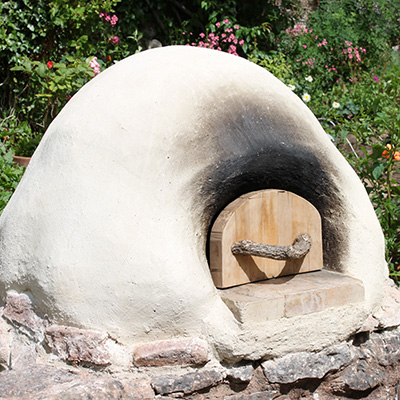
11. Seal the exterior of the oven using more cob (without straw) or lime (as in the picture).
To book yourself on to Kate Edwards’ pizza oven workshop, visit www.cobcourses.com. The one day course costs £120pp and includes a pizza lunch and afternoon tea and cake.

Read more
In the garden
How to build a wood-fired pizza oven
In the kitchen
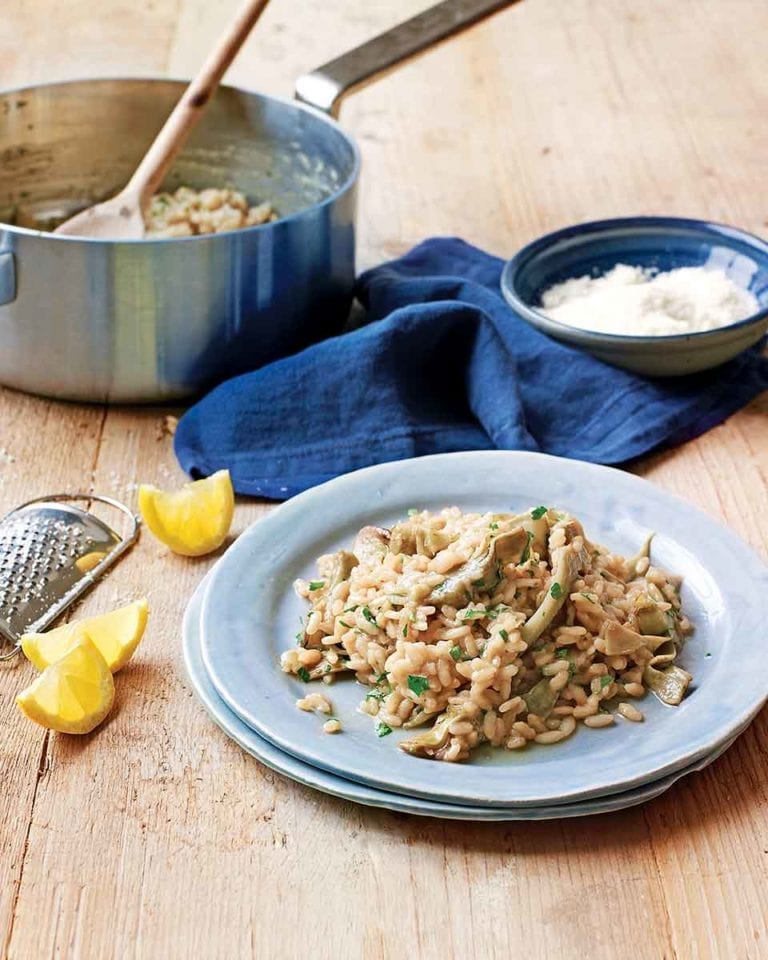
How to make classic artichoke risotto
In the kitchen
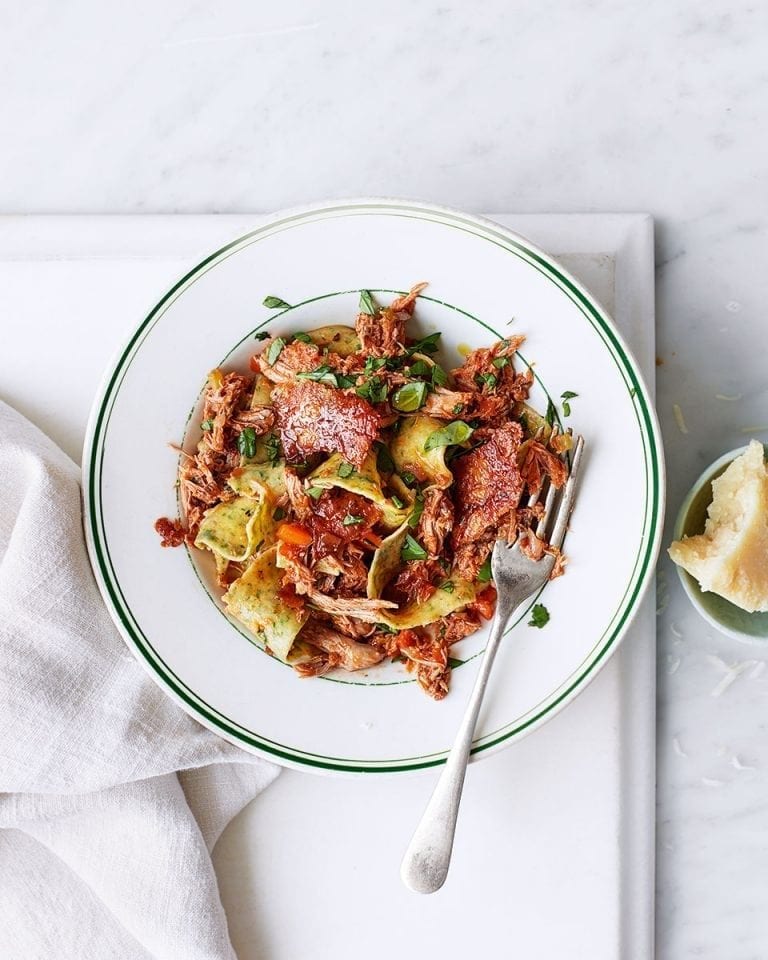
How to make duck ragù with spinach pasta
Subscribe to our magazine
Food stories, skills and tested recipes, straight to your door... Enjoy 5 issues for just £5 with our special introductory offer.
Subscribe
Unleash your inner chef
Looking for inspiration? Receive the latest recipes with our newsletter