Meringues: the 10 secrets every cook should learn
John Campbell
By John Campbell, owner and founder of The Woodspeen cookery school
Whipping up a meringue is a simple technique – once you understand the secrets behind all the whisking. These tips will help you understand each process and give you perfect light, chewy and crisp results every time.
1. Equipment
Use a large mixing bowl so the egg whites expand to their fullest. I like glass bowls but stainless steel or copper are good too (copper works well as tiny particles of it combine with sulphur in the egg whites and stabilise them). The bowl and whisks must be very clean – grease will stop the whites whisking properly. Note: plastic bowls can harbour grease. Rubbing with a cut lemon will eliminate grease but do dry with kitchen paper afterwards.
2. Eggs
The old wives’ tale that older eggs work best is correct: the whites of older eggs are thinner and easier to whisk. However, fresh eggs are less alkaline and therefore more stable. Choose eggs that are just a little less than super fresh.
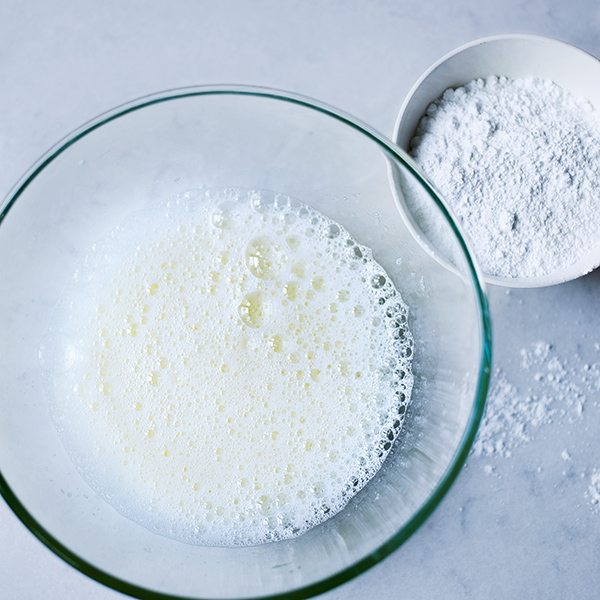
3. Sugar
Use caster sugar, not granulated as the latter doesn’t dissolve as quickly, can give a grainy finish to the meringue and cause ‘weeping’ (leaking of sugary syrup). The best ratio of sugar to egg white (for pavlovas) is 1:1. Weigh the whites, then use the same weight of sugar. Golden caster sugar will give a good flavour and a warmer colour. Warming the sugar before adding it isn’t necessary, but it does help the sugar dissolve more quickly. It’s worth noting that sugar is hygroscopic, which means it absorbs moisture from the air. It’s best not to make meringues on a rainy day as the humidity can limit the meringue volume. Keep the sugar covered or in a container until it’s needed.
4. Texture
Cornflour beaten into the egg whites will give the centre of the meringue a marshmallowy texture by preventing it from overcooking; it also helps prevent weeping.
5. Crust
Vinegar and/or cream of tartar delays coagulation, allowing more air to be whisked into the egg whites. It gives a stronger crust on the outside and a lighter meringue on the inside.
6. Chill
Chill eggs (in their shells) for meringues, and separate when cold as the yolk will be firmer and less likely to break.
7. Proteins
Let the whites reach room temperature before using – this relaxes the proteins so they’ll whisk to a greater volume.
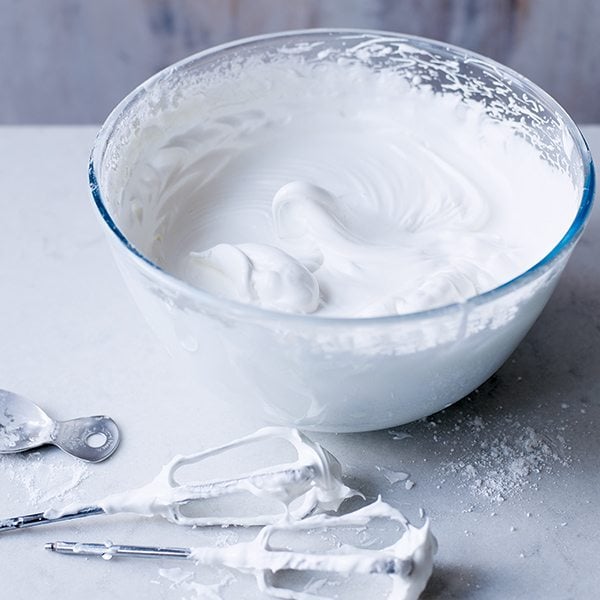
8. Peaks
Whisk the meringue to soft peaks – as you lift out the whisks the peaks formed should flop over. Add sugar gradually (1 tbsp at a time), whisking it in to form small, stable bubbles. Once you’ve incorporated half the sugar, check the mixture by rubbing a little between your fingers. You can add the sugar in larger amounts when you can’t feel any sugar as you rub. Keep whisking the meringue to firm peaks – when you lift out the beaters, the peaks formed should remain upright. The process should take 7-9 minutes.
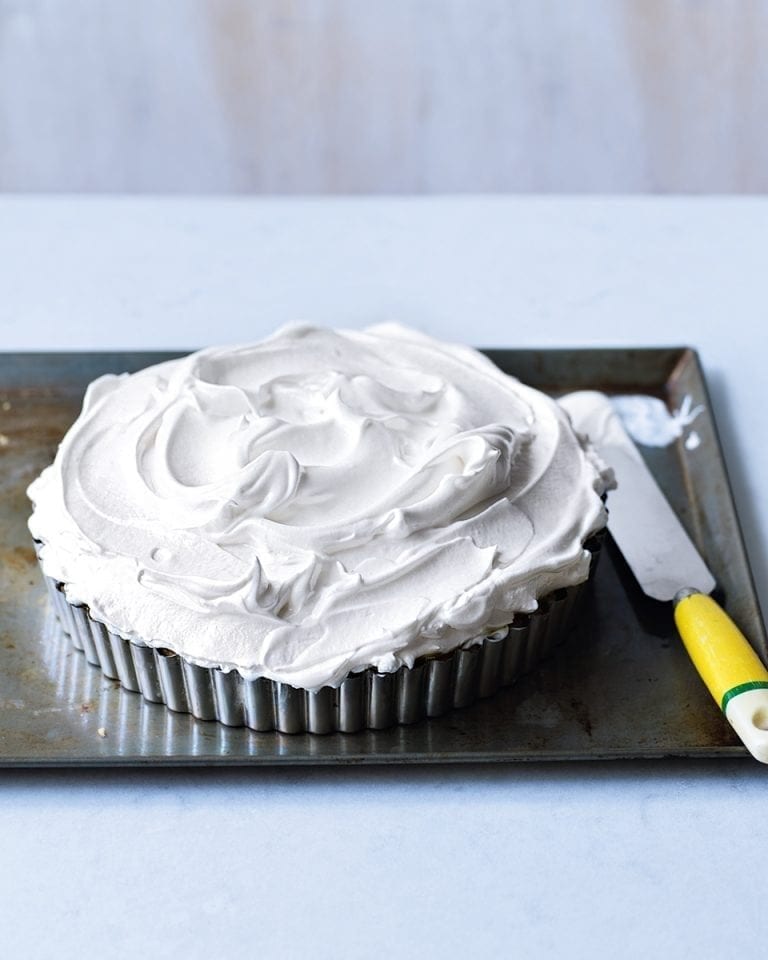
9. Bake
Bake at 110°C/90°C fan/gas ¼ until ready, then turn off the oven and leave overnight to cool. Don’t open the oven door until the meringue has fully cooled, as the temperature change may cause it to crack. If you’re using an electric oven, use it without the fan (if possible).
10. Keep
Meringues will keep for up to 48 hours in a lidded container.
The Woodspeen is in Newbury, West Berkshire. John is author of several cookery manuals and has appeared on BBC’s Saturday Kitchen and MasterChef.

Read more
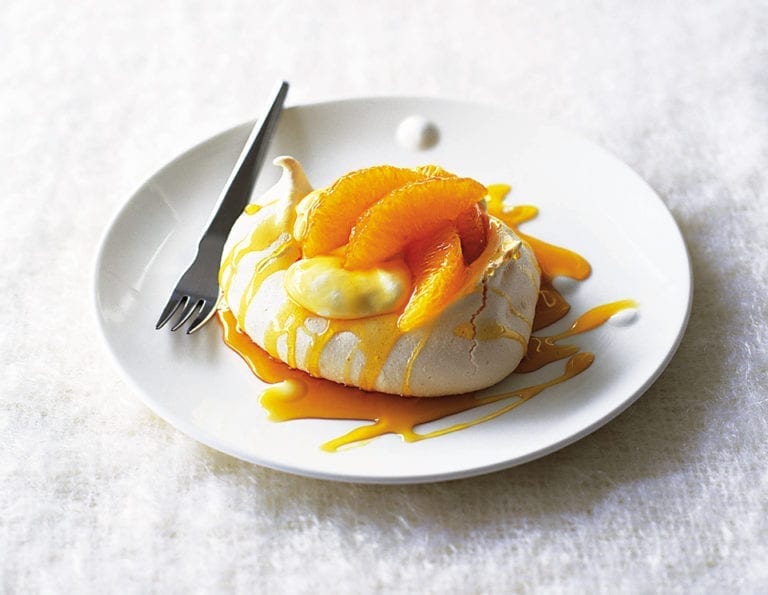
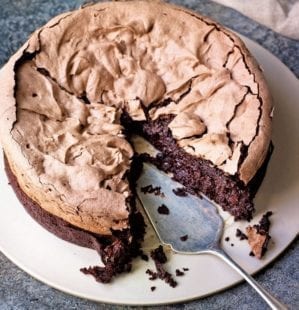
In the kitchen
How to make a perfect meringue
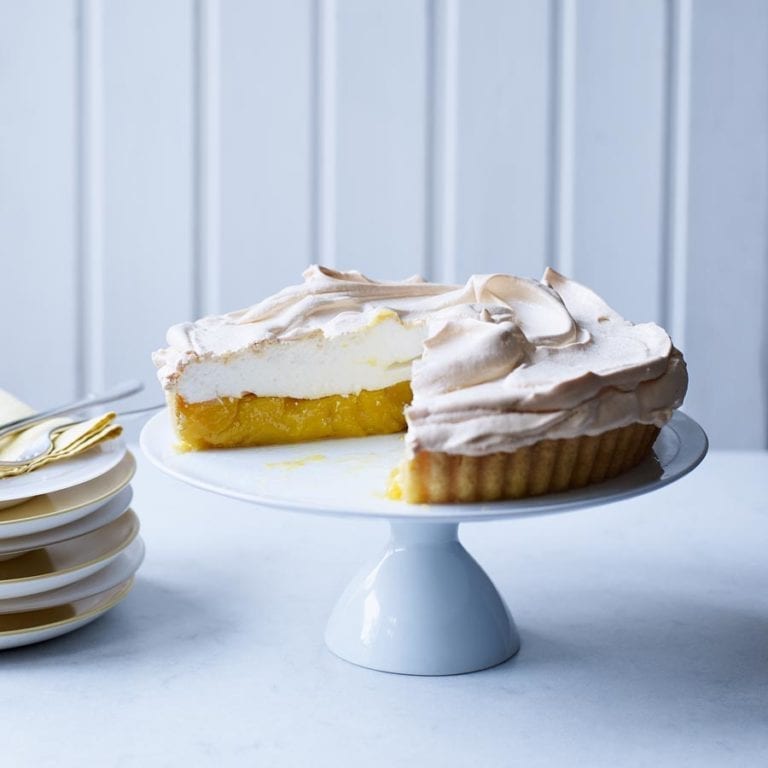
In the kitchen
How to make lemon meringue pie
Subscribe to our magazine
Food stories, skills and tested recipes, straight to your door... Enjoy 5 issues for just £5 with our special introductory offer.
Subscribe
Unleash your inner chef
Looking for inspiration? Receive the latest recipes with our newsletter