How to make (and decorate) chocolate Easter eggs
delicious. team
Once you’ve mastered the art of tempering, making your very own chocolate Easter eggs is only a few simple steps away. So, grab yourself some top-quality chocolate, plus a couple of pieces of kit, and discover how to make gorgeously glossy homemade Easter eggs.
Make sure you scroll to the bottom to find four fabulous ways to decorate your eggs, too.

Before you start, check out our trusty tips to success to ensure perfect Easter eggs every time:
- Use cotton gloves (available from pharmacies) when handling the unmoulded eggs to prevent fingerprint marks.
- We used a variety of egg mould sizes. For each 6cm small egg you’ll need to melt 40g chocolate. As a rule of thumb, for every additional centimetre in the length of a mould you’ll need about 10g more chocolate. It’s worth melting a little more than you need in case you make a mistake – or you want thicker eggs.
- Make sure the moulds are clean and dry; polish the insides with cotton wool until they shine.
- Before you start, check out our guide on how to temper chocolate – this is vital to ensure the chocolate has a glossy finish and a nice ‘snap’ when you break it.
You will need:
- 250g good quality dark chocolate callets or roughly chopped bars (at least 70% cocoa solids)
You’ll also need…
- 2 x sets 6 plain half-egg moulds around 6cm in length (available from Cakecraft World, Squires Kitchen and Amazon). Or use different-size moulds.
- Cotton wool
- White cotton gloves
How to make chocolate Easter eggs
1. Put a large spoonful of tempered chocolate into each half-egg mould and swirl it around to coat the inside, adding more chocolate if needed.
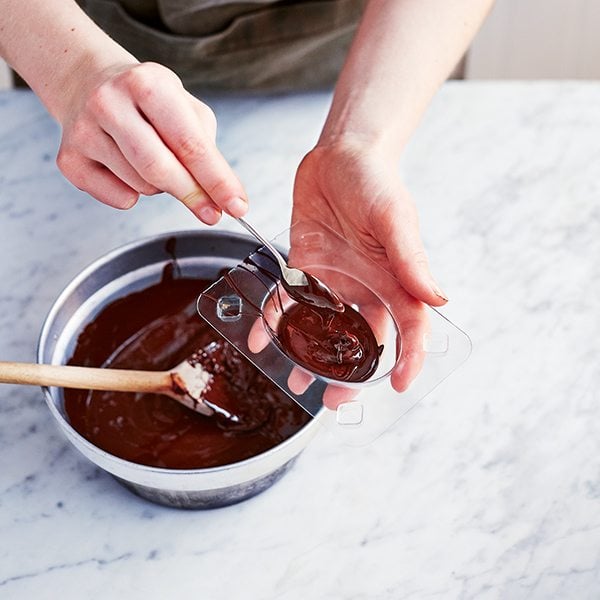
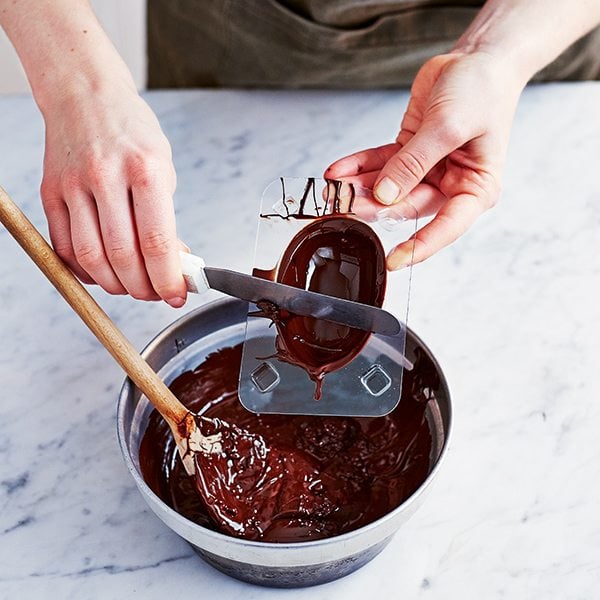
2. Hold the mould, open-side down, over the bowl of chocolate and tap the outside so any excess chocolate drips into the bowl. Use a spatula to scrape the back of the mould until clean – to give an even edge to the egg, putting the scraped-off chocolate back into the bowl of tempered chocolate. Repeat with the other moulds. Leave for 2 hours in a cool place until set.
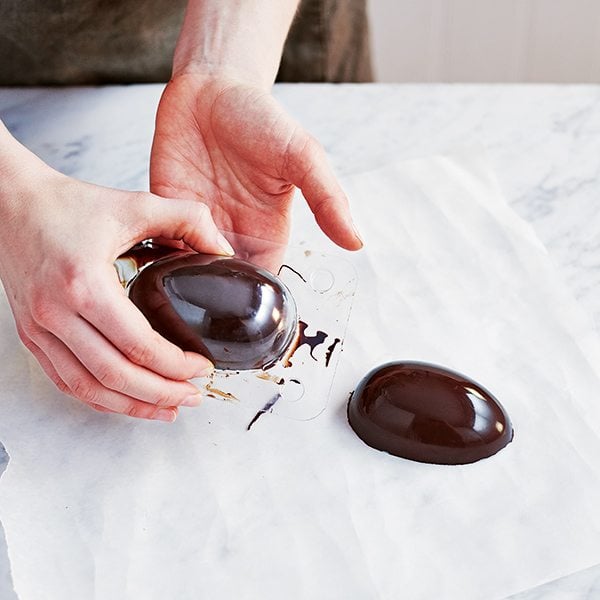
3. To remove the eggs from the moulds, they need to be cold. Put them in the fridge, open-side up, for 5 minutes. If the chocolate doesn’t feel completely cold, leave it for another 2-3 minutes (but no more).
Remove from the fridge, turn over so the plastic side is uppermost, then gently squeeze the top until you can see a bubble of air separating the chocolate from the mould. The egg should now easily pop out of the mould. If there are any extra bits of chocolate around the edge, use a knife, warmed in hot water then dried, to melt them off – be gentle!
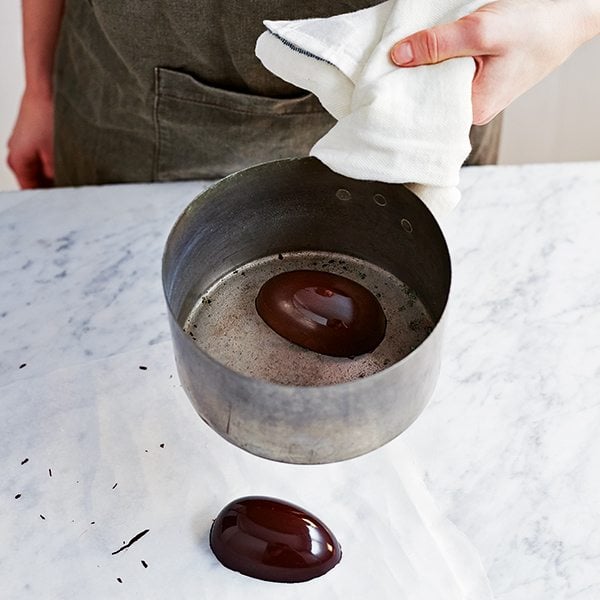
4. To stick the halves together, heat a pan over a low heat until warm, then turn off the heat. Put one half of the egg back into the mould. Wearing cotton gloves, place the other half seam-side-down onto the base of the warmed pan until just melted, then attach it to the half in the mould, pressing down slightly to seal. Repeat with the rest. Leave the eggs in the moulds for 30 minutes or until the seal has set.
4 ways to decorate your Easter eggs
DARK CHOCOLATE DRIZZLED EGGS
You will need…
- 50g dark chocolate, roughly chopped
- Small paintbrush
Method…
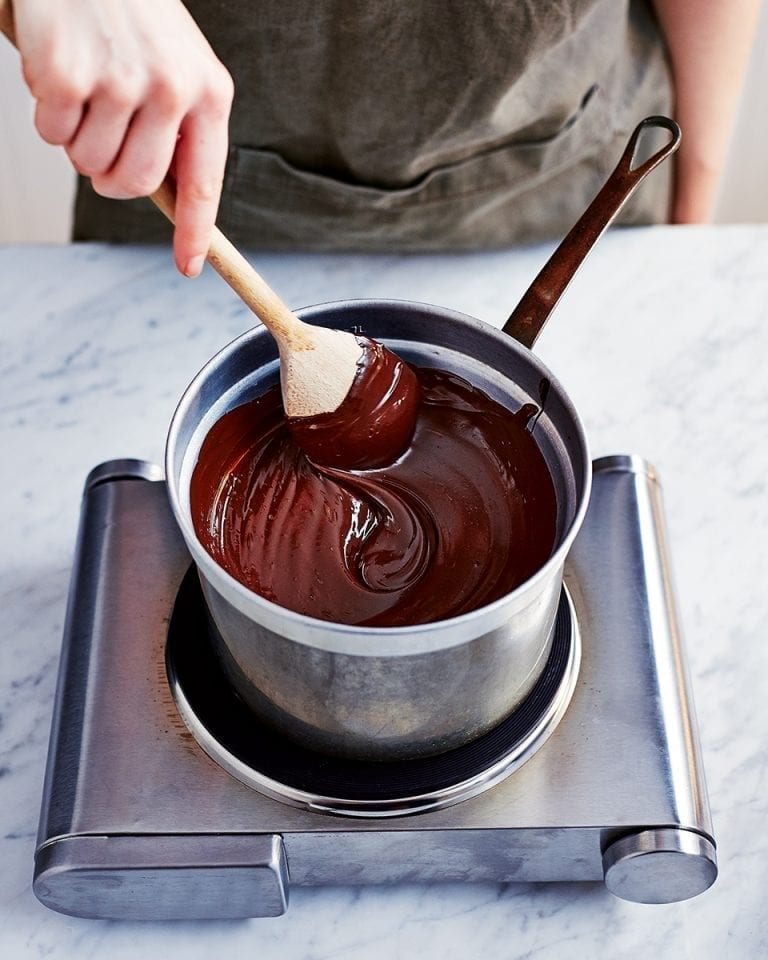
1. Put the dark chocolate into a small bowl set over a pan of barely simmering water (as before, don’t let the bowl touch the water). Leave to melt, then gently stir and set aside to cool slightly for 10 minutes.
2. Put the set chocolate eggs onto a chopping board. Dip a paintbrush into the melted chocolate, then flick, drizzle or smear it over the eggs. Allow to dry.
WHITE CHOCOLATE PAINT SPLATTERS
You will need…
- 50g white chocolate, roughly chopped
- Small paintbrush
Method…
1. Before tempering and filling your moulds with dark chocolate, prepare the white chocolate. Put the white chocolate into a small heatproof bowl and set it over a pan of barely simmering water to melt (as before, make sure the water doesn’t touch the bowl).
2. Dip a small paintbrush into the white chocolate and flick/drizzle it inside the moulds. Chill to set for 20 minutes, then fill the egg mould with tempered chocolate as in the recipe. Or flick and drizzle melted white chocolate over the finished eggs.
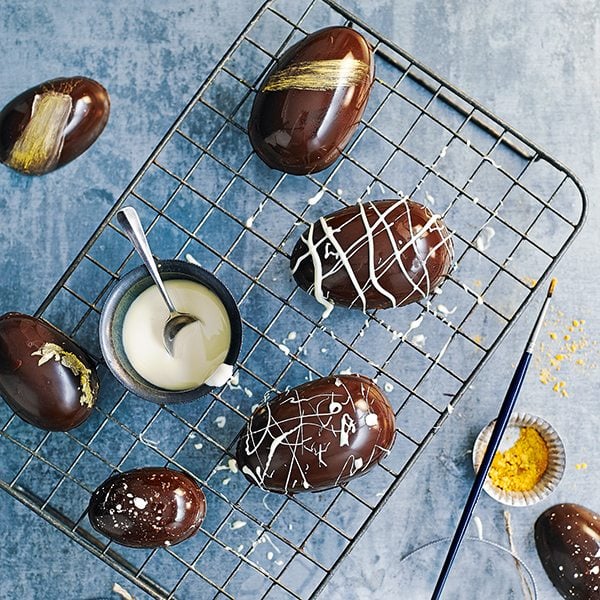
GOLDEN EGGS
You will need…
- Medium paintbrush
- Gold (or any colour you fancy) lustre dust, spray or gold leaf (from cook shops)
Method…
1. Temper and fill the moulds as described above. When the eggs halves are set and have been removed from the moulds, dip a paintbrush into a little of the lustre dust/gold leaf and quickly swipe the paintbrush across the egg halves. If using spray, lightly spray the surface.
2. Turn the egg halves over and gently tap off any excess, then seal as above.
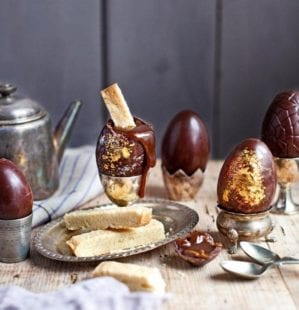
FILLED EGGS
You will need…
- Sweets, such as Dolly Mixtures or Smarties
Method…
1. Put a small handful of unwrapped sweets into one egg half before sealing.
Read more
Subscribe to our magazine
Food stories, skills and tested recipes, straight to your door... Enjoy 5 issues for just £5 with our special introductory offer.
Subscribe
Unleash your inner chef
Looking for inspiration? Receive the latest recipes with our newsletter