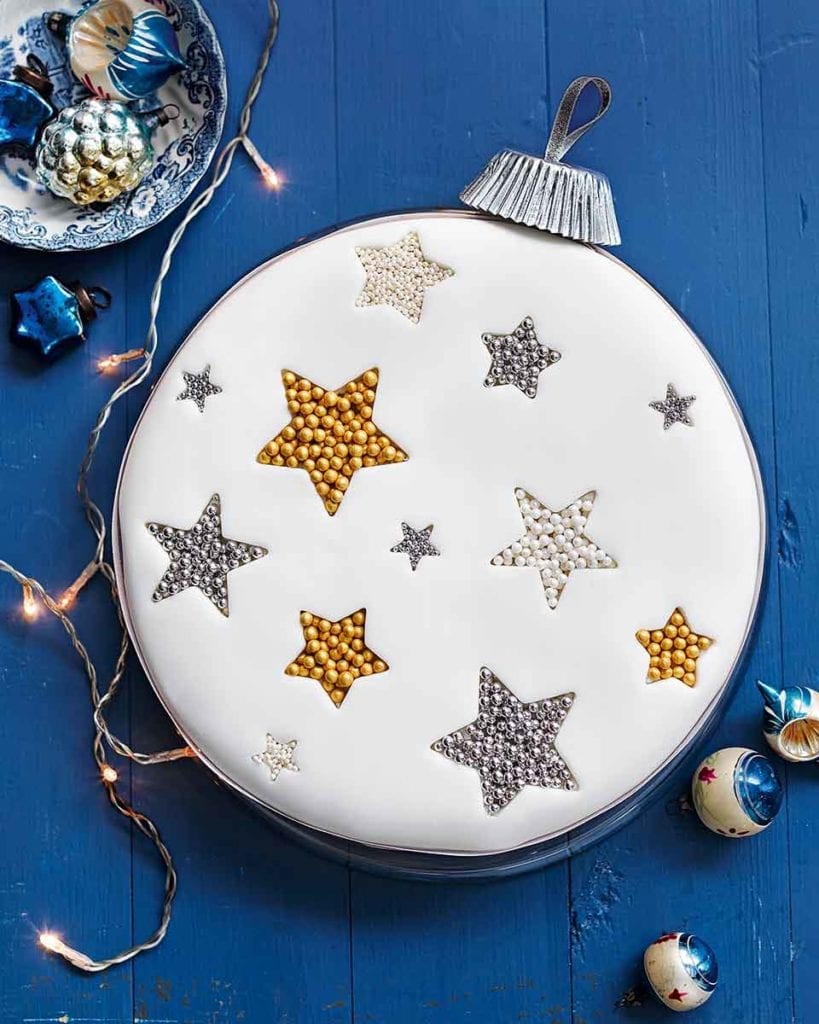
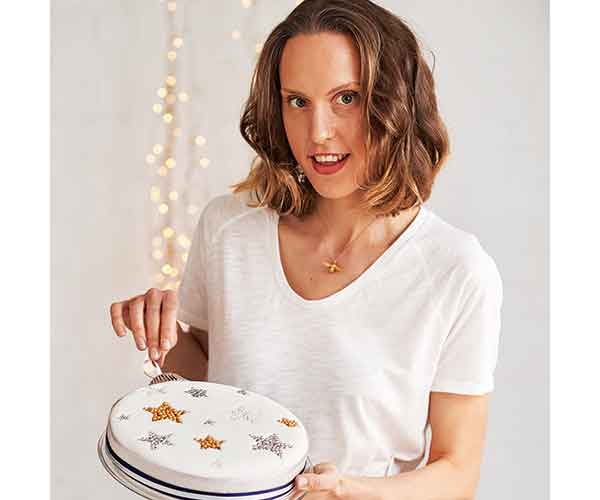
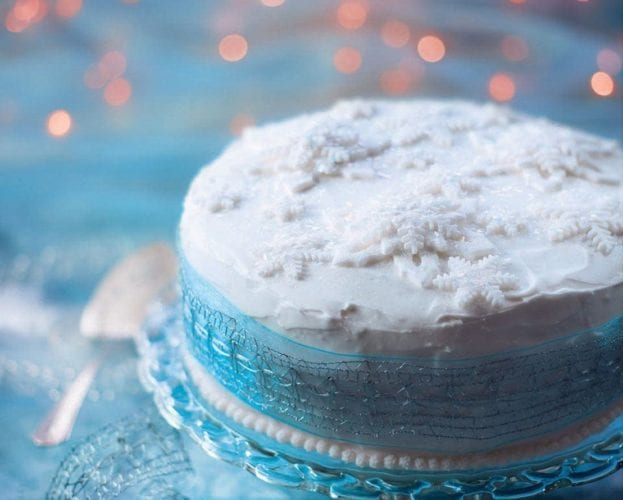
Follow Frances Quinn’s easy step-by-step guide to creating a Christmas showstopper – it’s a guaranteed way to impress your guests.
How to make a Christmas bauble cake
Guides |
November 2016
Follow Frances Quinn’s easy step-by-step guide to creating a Christmas showstopper – it’s a guaranteed way to impress your guests.
Before you start
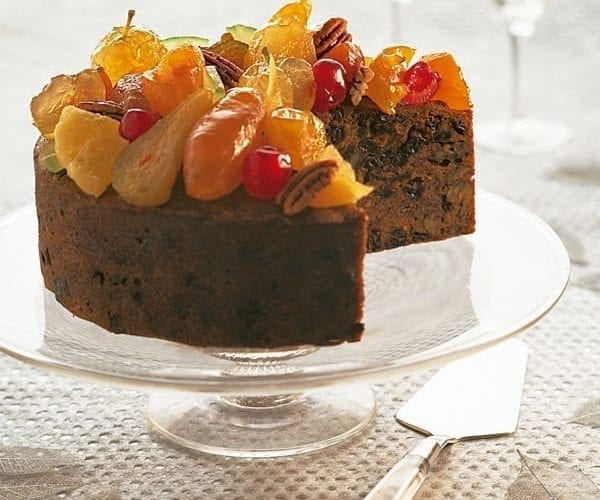
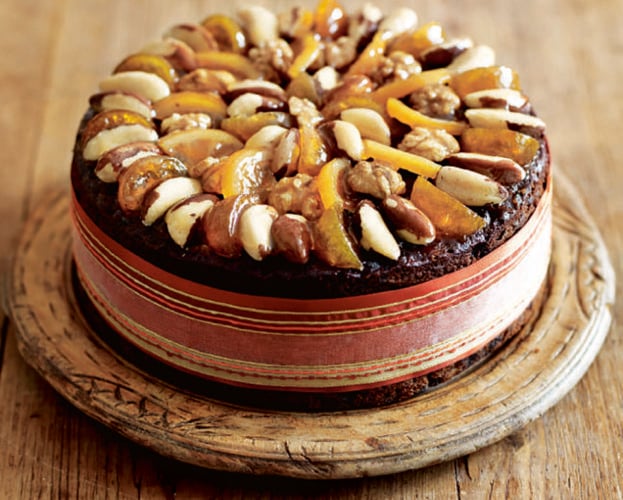
This technique shows how to decorate a round iced cake. If you want to make and ice your own cake (up to 2 days ahead, so the fondant stays soft), find recipes, including a wonderful Caribbean black cake here. There’s also a step-by-step guide to covering a cake with marzipan and icing. Short of time? Buy a ready-made iced cake from Marks & Spencer, Sainsbury’s or megrivers.co.uk.
You will need
- A round, iced cake
- Sharp-edged cookie cutters in shapes of your choice (Frances used stars but feel free to experiment); the design will look better if you have quite a few cutters in different sizes
- Icing sugar (optional)
- Scalpel or sharp-pointed knife
- Small paintbrush
- Clear honey, to use as glue
- Sugar balls in silver and gold, available from larger supermarkets, cook shops or squires-shop.com
- 2, 3 or 4 ribbons in colours of your choice, each of a different width (they’re going to be layered on top of each other); the clasp ribbon needs to be quite thin
- Small dressmaking pins
- 2-3 medium silver cupcake cases
- Cocktail stick
Hands-on time 30 minutes, plus icing the cake (optional)
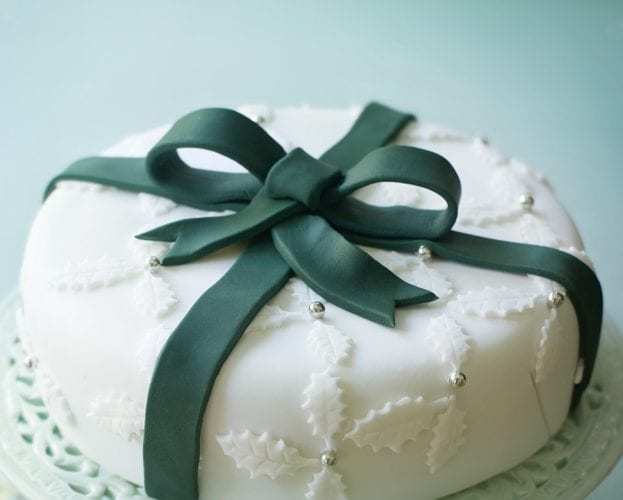
1. Start by resting the cutters on the top of the cake so you can work out the pattern you’d like to make and get an idea of how it’s going to look.
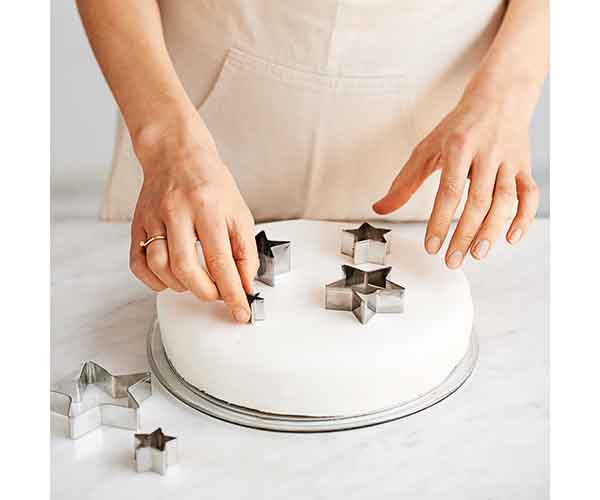
2. Once you’re happy with the design, press down firmly with each cutter until you feel resistance. Carefully remove the cutters and set aside.
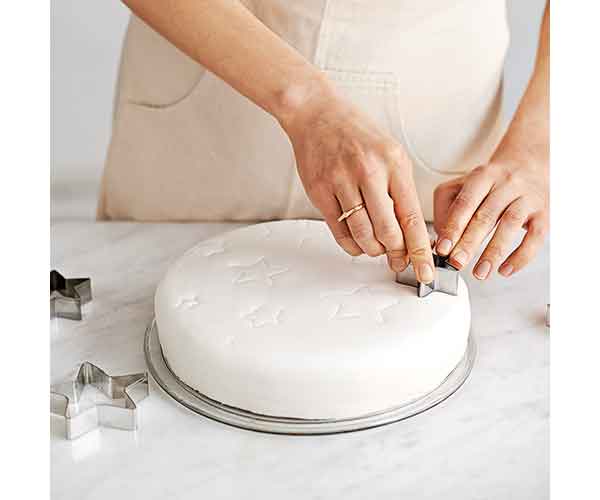
3. Using a scalpel or small, sharp knife, cut along the edges of the cut-out shapes, using the tip to lift out the fondant. Tidy up the edges with the blade as best you can (it doesn’t need to be perfect). Set aside the cut-out icing, wrapped in cling film.
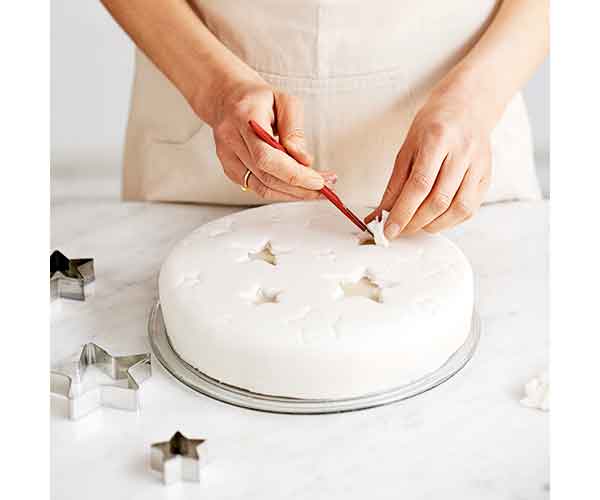
4. Once you’ve cut out all the shapes, use a small paintbrush to brush honey inside each cut – this will stick the sugar balls to the cake.
5. Gently place the appropriate cutter back into the cut-out shape, then fill the centre with sugar balls, handling them as little as possible.
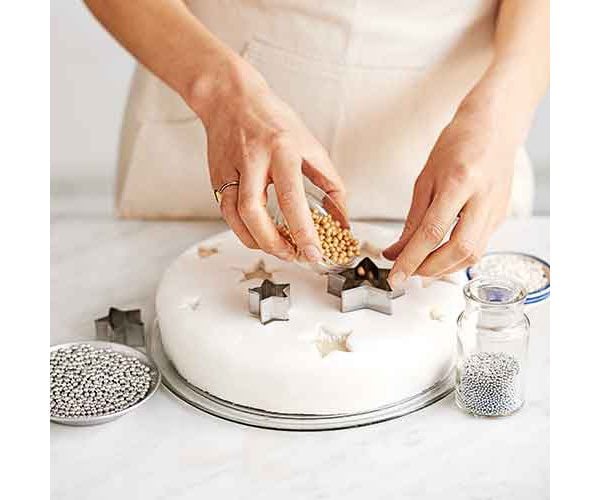
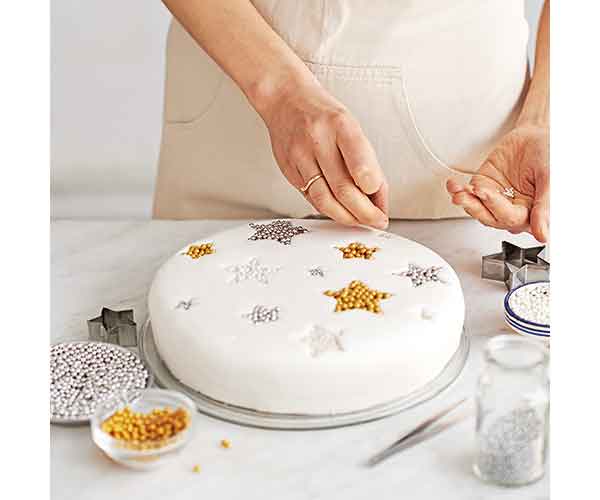
6. Make a single layer first, then put a few more on top and ease them in to fill any gaps and hide the marzipan beneath. Carefully lift out the cutter and add any more balls if needed to fill any gaps. Repeat with all the shapes.
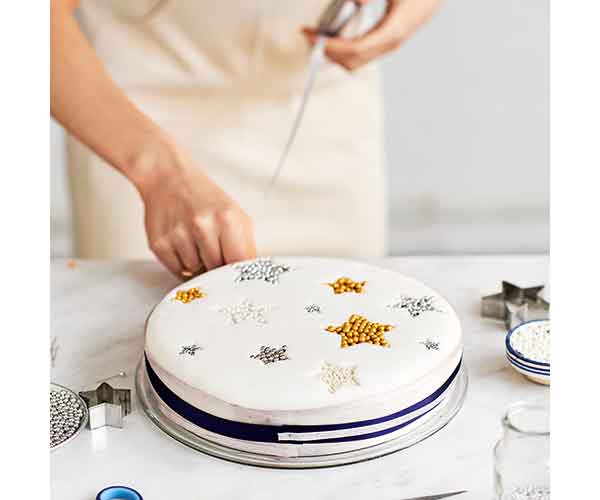
7. Attach the ribbons around the cake. Use the broadest first, then a narrower one, followed by the thinnest (use 3-4 if you wish). Secure each in place with pins, then trim off any excess ribbon.
8. For the clasp decoration (and to hide the ribbon pins), nestle 2-3 silver fairy cake cases inside each other (use as many as it takes to give the structure a bit of strength). Make a loop from a small length of thin ribbon and knot the end tightly. Push a pin through the knot so it’s firmly attached to the ribbon. Roll the reserved fondant pieces into a ball. Put the fairy cake cases on top of the icing ball, then push the pin through the centre of the cases into the fondant until the knot has passed through the hole.
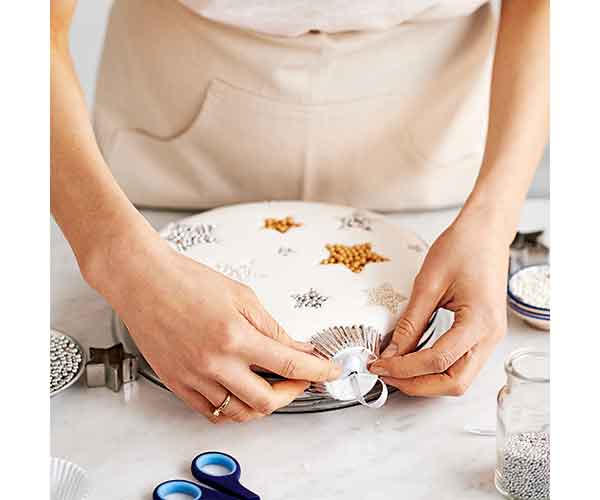
9. Trim off any fondant that sticks out beyond the cases’ edge. Insert a cocktail stick into the cake where the ribbons are pinned, then push the clasp decoration on top so the cocktail stick pierces the fondant, holding it securely in place. Ease it into position until the cases meet the side of the cake. It should hold without sagging. Your cake is now complete.
Frances’s tips for success
- If the cutters stick when you press the first one into the fondant, dip the edges in a little icing sugar. Re-dip as necessary, brushing any icing sugar spillages off the cake as you go.
- Don’t over-handle the sugar balls as moisture will cause them to lose their sheen.
- Count the pins you stick into the cake as you decorate it, then count them as you take them out. If you have children around, make sure they don’t dive into the cake before the pins have been removed.
The cake can be decorated and kept in an airtight container for up to 1 week, away from humidity (which will take the sheen off the sugar balls).

Subscribe to our magazine
Food stories, skills and tested recipes, straight to your door… Enjoy 5 issues for just £5 with our special introductory offer
By joining our newsletter you agree to our
Privacy Policy
