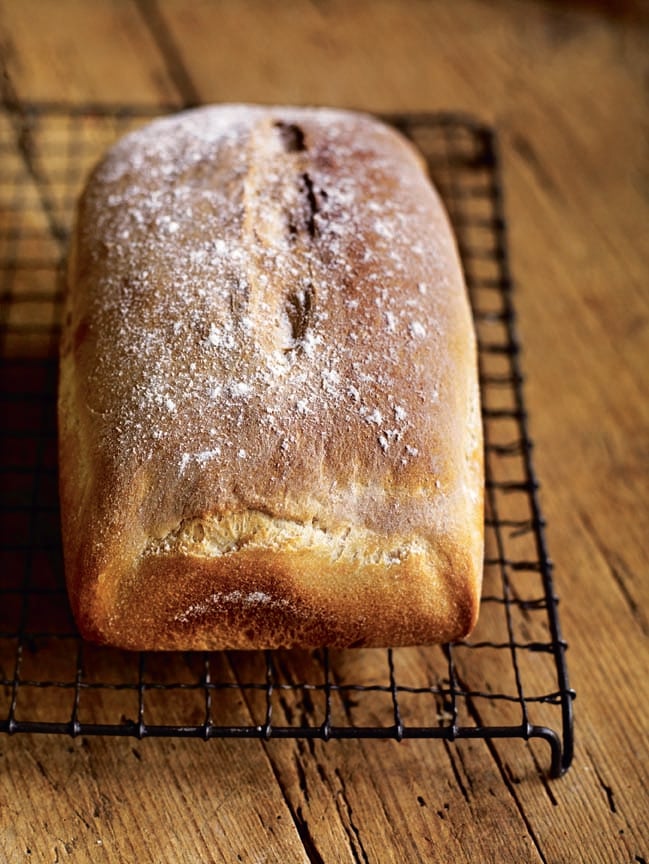
This delicious rustic loaf, from a Long Crichel Bakery recipe, can be made with either white or brown flour.

Join Extradelicious to unlock Cook Mode
Ingredients
- 500g strong plain flour (ideally organic), plus extra for dusting
- 1 tsp salt (see tips)
- 20g fresh yeast (see Know-how)
- 325ml tepid water (about 30°C)
- Flavourless oil for greasing
Join Extradelicious to unlock Cook Mode
Method
- Mix the flour and salt together in a mixing bowl. Finely crumble in the yeast, then add the tepid water and mix using your hands or a wooden spoon to bring together into a round, shaggy mass. Dig down to the bottom of the bowl to make sure there’s no dry flour left. Scrape off the excess dough from your hands or the spoon, cover the bowl with a clean tea towel and leave for 10 minutes.
- Rub a little oil over a 30cm x 30cm area of the work surface and a little more over your hands. Ease the dough gently out of the bowl onto the work surface, taking care not to pull or tear the mixture. Grab the edge of the dough furthest from you with one hand and pull it to meet the edge of the dough nearest to you. With the heel of the other hand, push down lightly on the top of the dough, and push it gently away from you – a movement of about 10cm (don’t pound or tear the dough – see tips), then give the dough a quarter turn.
- Complete this ‘fold, stretch and turn’ process no more than 10 times. Return the dough to the bowl and leave to rest for 10 minutes.
- Repeat this whole procedure again and leave to rest for another 10 minutes, then repeat once more and leave to rest for 30 minutes. From the time it is mixed, the dough will be rising and developing its structure of air bubbles with increasingly thin walls of gluten. It will also lighten and will have lost its stickiness, becoming silky and elastic.
- Put the dough on a clean and very lightly floured work surface and mould gently into the desired shape. You can either make a freeform loaf, then put it onto a baking sheet lined with baking paper, or drop the dough into a lightly oiled 900g loaf tin. Cover loosely with cling film and leave somewhere warm to prove for 45 minutes until the dough has puffed up and stays indented when pressed gently with your finger. Don’t over-prove the loaf or it may collapse during baking (see tips).
- Preheat the oven to 200°C/fan 180°C/gas 6. Make a long shallow slash down the centre of the loaf with a scalpel, razor blade or very sharp knife to allow the loaf to open up during baking. Bake for 35-40 minutes until well coloured (see tips). Remove from the tin if necessary, transfer to a cooling rack and leave to cool before slicing.
Nutrition
- 107kcals Calories
- 0.4g (0.1g saturated) Fat
- 3.1g Protein
- 23.1g (1.3g sugars) Carbs
- 1.3g Fibre
- 0.3g Salt
Leave a comment, question or tip