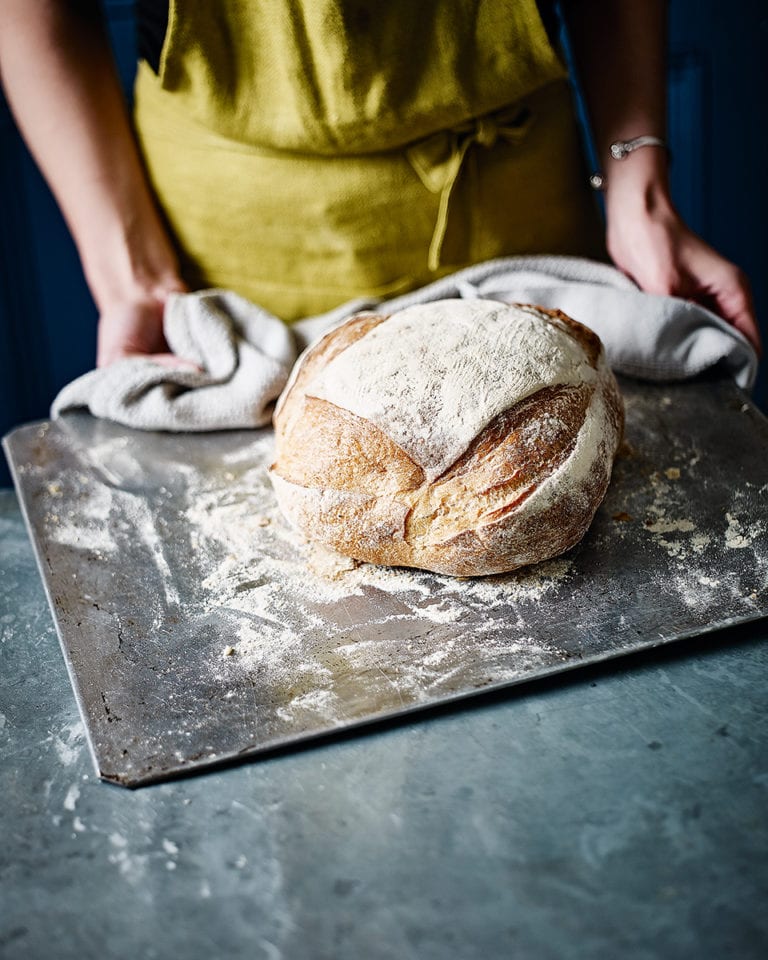
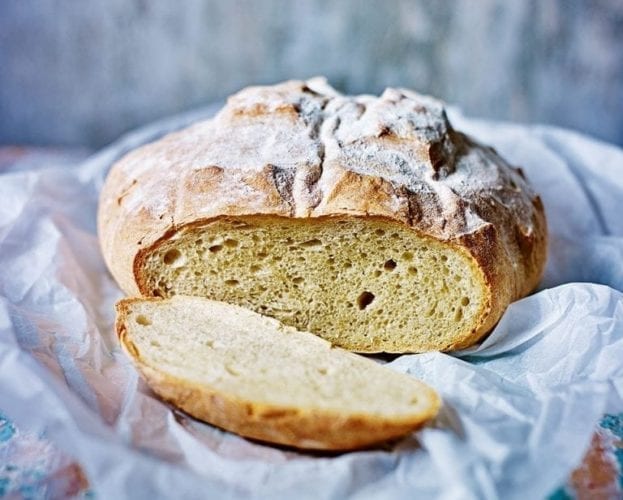
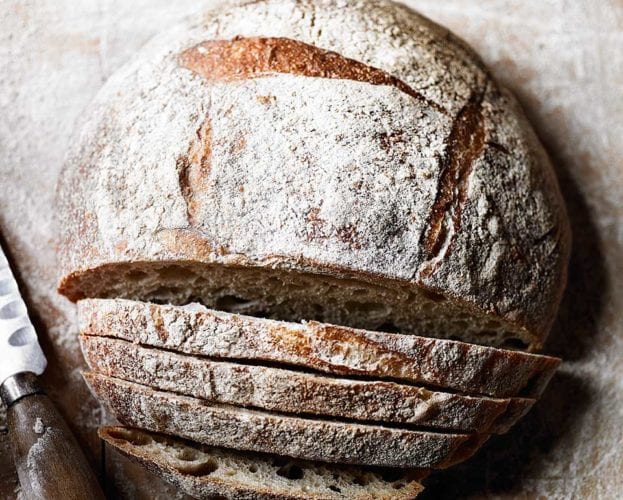
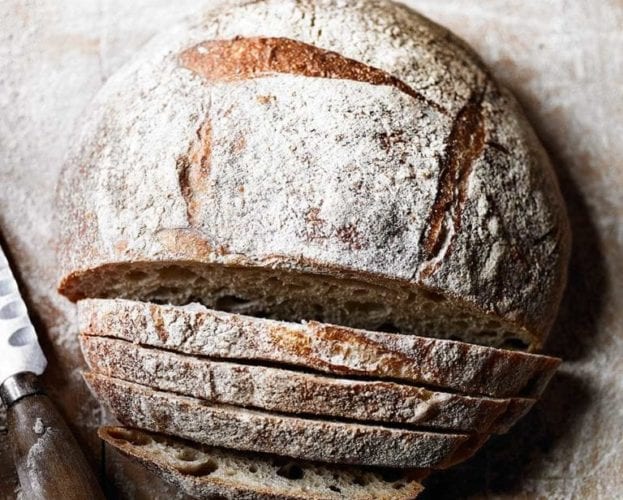
How to make sourdough
- Portion size: Makes 1 large loaf (about 20 slices)
- Hands-on time 50 min, oven time 30 min, plus rising, resting and 2½-6 hours (or overnight) proving (not including the starter and pre-ferment)
- Difficulty: easy
Learn how to make sourdough at home with our easy step-by-step recipe by Lottie Covell. It’ll take you through making your own starter and pre-ferment before using them to bake a loaf of white sourdough bread – with lots of tips and tricks along the way.
“It was only once I’d baked my first loaf that I fully appreciated the magic of sourdough,” says Lottie. “There’s a sense of satisfaction that comes from turning a few simple ingredients into a beautifully risen hunk of rustic moreishness, and once you’ve cracked it you can bake great loaves as often as you want to.”
“The knack for baking sourdough develops over time – and I should add a warning here that the process is seriously addictive! To get myself up to speed, I went to a masterclass run by baking expert Emmanuel Hadjiandreou, where I learned so much in just a few hours. Although the recipe looks complicated,
I promise you it’s easy once you’ve developed a feel for the process and for the dough.”
- How do you make sourdough? Sourdough is usually made of three components: the starter, the pre-ferment and the making of the bread itself. Our sourdough recipe is made with a two-stage process using a pre-ferment and will take 2 days. If you’re making a starter from scratch too, you’ll need to allow an extra 8 days before you start baking, but once your starter looks lively and strong (bubbling steadily) you’re good to go.
- What’s a pre-ferment? The sourdough recipe in this guide uses a pre-ferment (also called sponge, poolish or biga). The idea is that you mix a little yeast, either commercial or in this case from your starter, with a little flour and water and allow it to develop and grow before using it in your bread dough. Using a pre-ferment gives the natural yeasts a bit of a boost, and also improves the flavour of the loaf.
Ingredients
For the sourdough starter and pre-ferment
- About 150g organic stoneground strong white flour
- Medium lidded jar
- Mixing bowl or large jar
For the sourdough loaf
- 500g organic strong white bread flour, plus extra to dust
- 15g fine sea salt
- 300ml warm water
- 150g pre-ferment
Method
How to make a sourdough starter: an 8-day time plan
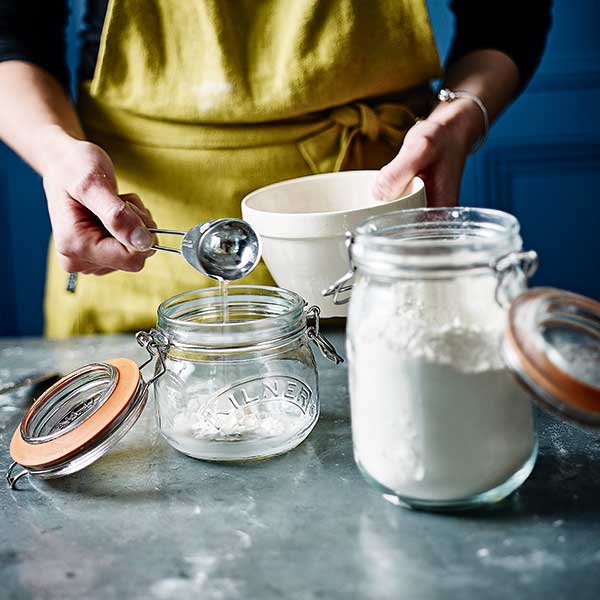
- Day 1: Mix 2 tsp of the flour and 1 tbsp cold water in a medium clean jar. Seal and leave overnight in a warm room.

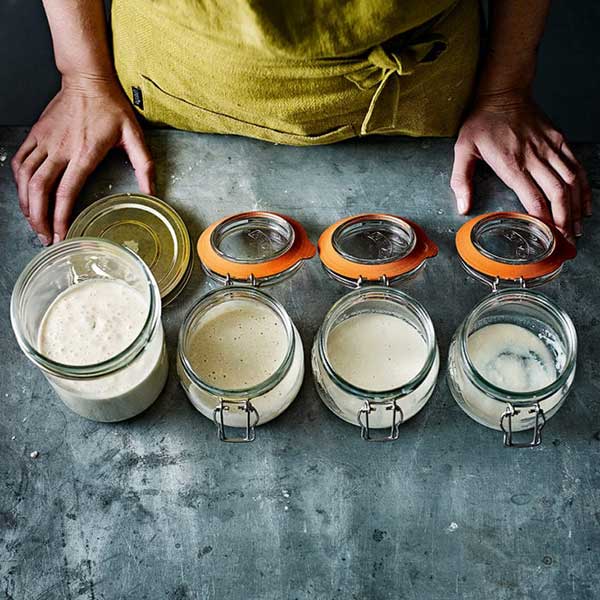
- Days 2, 3, 4 & 5: Add 2 tsp flour and 1 tbsp water to the jar each day, then stir, seal and leave overnight. You’ll notice increasing amounts of bubbles forming on the surface of the starter each day.
- Day 6, making the pre-ferment: Making a pre-ferment (also called a poolish) adds extra flavour. The ratio is 1 part starter to 10 parts flour and 10 parts water. Weigh out 10g of the starter into a mixing bowl or large jar, then add 100g of the flour and 100ml warm water. Stir well, cover with cling film and leave in a warm room for 8 hours or overnight. The mix will keep at room temperature for 2 days in a sealed container. Any longer and it will over-ferment and make the loaf too sour. If the bubbles are not very active, feed it again with 2 tbsp strong white flour and 2 tbsp water.
- Day 7: Use the pre-ferment to make a sourdough loaf below. The recipe uses 150g pre-ferment but our pre-ferment recipe makes a bit extra, as you’ll lose some when measuring it into the loaf recipe.
How to make a white sourdough loaf
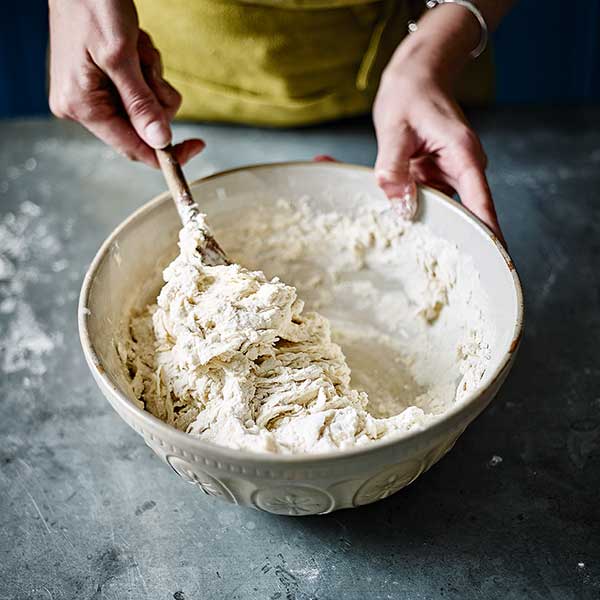
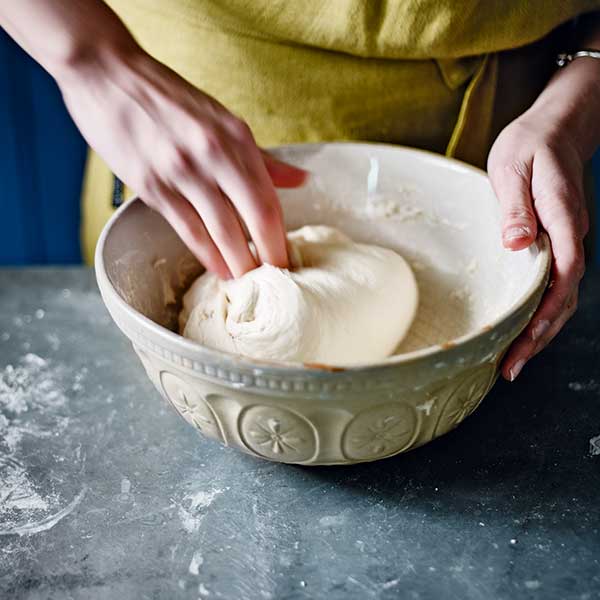
- Combine the flour and salt in a mixing bowl. Mix the water and pre-ferment in a large measuring jug. Pour the wet mix into the flour, then use a wooden spoon or dough scraper to bring the dough together, making sure all the flour is worked in. The dough will be quite shaggy.
- Cover the bowl with an upturned bowl or shower cap and leave for 10 minutes in a warm place. Next, pinch up a small portion of the dough from the side, stretch it up and over, then press it into the other side of the dough. Pinch another piece next to where you grabbed the first and repeat this stretch-and-fold another 6-8 times, working your way around the dough, which will become smooth and more firm as the gluten develops.
- Rest the dough for 10 minutes more, then repeat the stretch-fold 8-10 times as in step 2. Repeat the whole stretch-fold process twice more (you might need to stretch-and-fold fewer times if the gluten develops too quickly), then after the fourth time, leave the dough in a warm place to rise for 1 hour, lightly covered with an upturned bowl/clean shower cap.
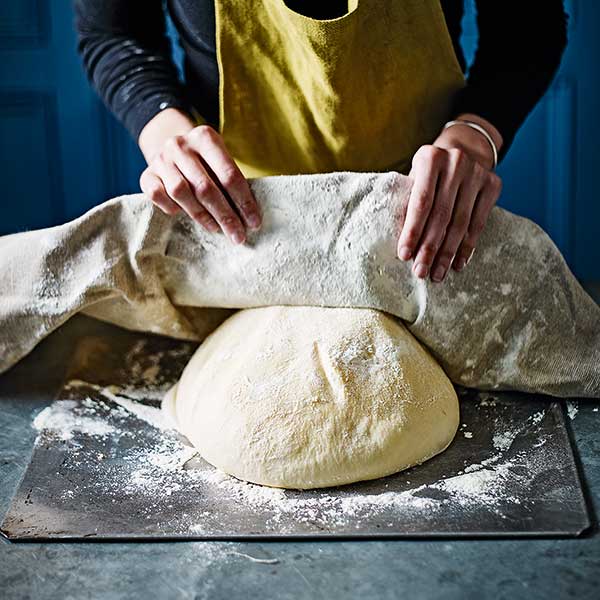
- Tip out the dough onto a floured work surface and shape into a thick disc. Line a proving basket or colander with a clean tea towel or proving linen (also called a couche). If using a proving basket, you don’t have to line it with a cloth, but you’ll need to generously flour the basket to prevent sticking.
- Generously flour the proving cloth/basket and put in the dough. Sprinkle more flour on top, then leave in a warm room to prove. It will take 2½-6 hours, depending on the temperature and how active the starter is. The dough is ready when it springs back when gently pressed, looks puffy and has increased in size. (You can also leave it in the fridge to prove slowly overnight.)
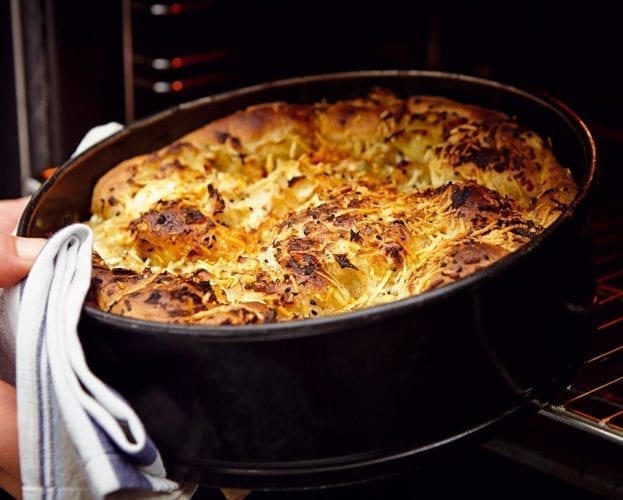
- For the last 30 minutes proving, heat the oven to its highest temperature. Heat a roasting tray
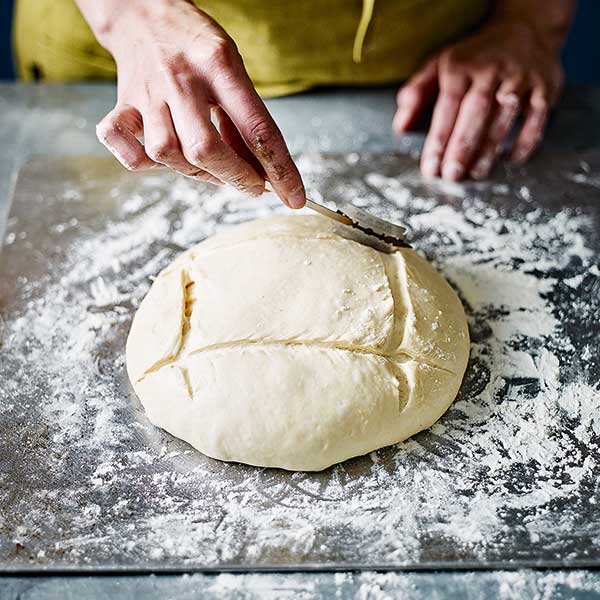
in the bottom of the oven and a baking sheet on the middle shelf. - Remove the hot baking sheet, sprinkle generously with flour, then gently invert the dough from the basket onto the sheet and carefully remove the cloth.
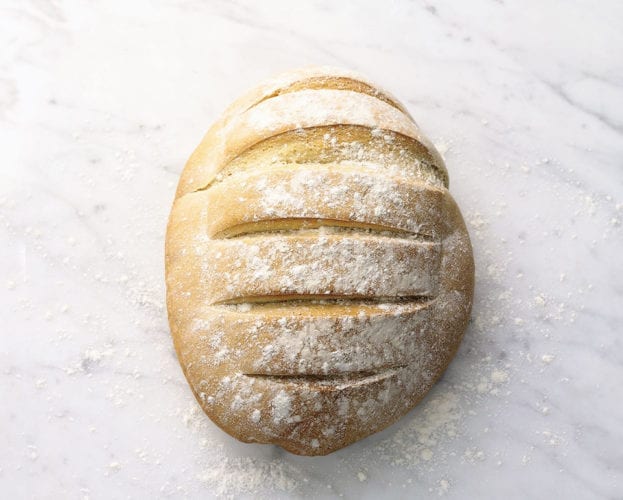
- Using a baking razor or sharp serrated knife, slash the top of the loaf 4 times.
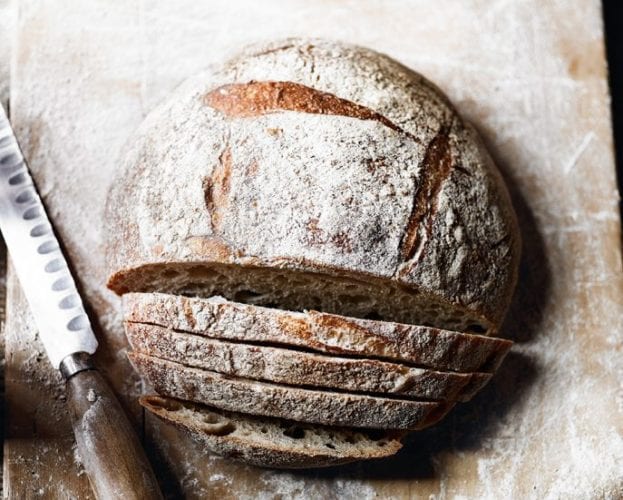
- Put the bread in the oven and turn down the temperature to 240°C/ 220°C fan/gas 9. Pour a cupful of water into the bottom tray (this will create steam, which will help the bread rise and form a thick crust). Bake for 30-35 minutes until golden brown. Tap the bottom of the loaf to see if it’s ready – it should sound hollow (if not, bake for 5-10 minutes more). Cool on a wire rack, then slice.
FAQs
It’s bread made with a natural leaven or rising agent (called a starter) instead of dried or fresh yeast. The starter is made by mixing flour and water, which harnesses the action of naturally occurring yeasts and bacteria in the flour and in the air. After a few days, the starter begins to bubble and ferment, developing its typical sour aroma. Bread made using a sourdough starter rises more slowly than a yeasted loaf, but the extra time means the gluten and flavour develop more, giving the finished loaf a distinctive sour tang and wonderfully chewy texture.
A sourdough starter is a fermented culture in which naturally occurring yeasts from the air are left to multiply in a mix of flour and water. It’s used instead of fresh or dried cultivated yeasts to make bread rise.
It takes 3-5 days to make a starter that’s ready to use. Once it’s ready, if you’re not planning to bake for a few days, it’s important to keep it, sealed, in the fridge (Kilner jars are good). Once you’ve used some of it to make the pre-ferment for your loaf (see Day 6), replenish (feed) the starter with 2 tbsp strong white flour and 2 tbsp water, then stir well (the texture should be thick). Seal and chill again until the next time you plan to make a sourdough loaf. Once the starter is in the fridge the fermentation process slows down. Two days before you want to bake your next loaf, take the starter out of the fridge and pour away any acidic liquid that’s formed on top. Add 2 tbsp strong white flour and 2 tbsp water, stir well and leave in a warm room. Repeat the next day. If the starter is bubbling it’s ready to make the pre-ferment (see Day 6). If it isn’t bubbling, repeat the process and wait another day. The starter will keep going for years if you feed it after every use and store it in the fridge in between bakes.
The amount of bubbles in a new starter varies greatly. If it doesn’t look very lively, keep it in a comfortably warm room, feed it for an extra couple of days with flour and water and it will soon be bubbling happily.
After 2 weeks (in the fridge) liquid will have collected on the top (it will smell acidic and alcoholic). Pour it away and scrape off any mould that may have formed. Keep the starter in a warm room and feed it with 2 tbsp strong white flour and 2 tbsp water (it should have the consistency of thick pancake batter). Feed your starter this way every day for 2-5 days – it’s ready when there are lots of bubbles in the jar. If the starter is older, spoon out any mould and pour off any acidic-smelling liquid, then sniff (it will be very alcoholic and acidic). If you think it’s just too pungent, weigh out 2g, put it in a clean jar (discard the rest), then add 20g flour and 20ml water. Leave in a warm room for 8 hours or overnight, then repeat with another 20g flour and water. Continue doing this until the starter is really bubbly – it may take a few days.
After the first round of stretch/fold (step 2), the dough will be soft and elastic. After the second round (step 3), the gluten will have developed and will have a more elastic structure. If the dough’s too stiff, leave it to rest for 15 minutes instead of 10 minutes in step 3, and reduce the stretching and folding to 5-6 times. When it’s elastic, pliable and springy, it’s ready.
Knowing when the dough is proved (ready to bake) can be hard. Under-proving results in a poor rise, while over-proved dough can collapse at the scoring stage. The dough should look puffy, and when you gently push it with your finger it should slowly spring back. If you’re using a proving basket, the bread will only rise about 5-8cm. If the dough rises more than 5-8cm and appears to have large air bubbles, put it in the freezer for 15 minutes, then the fridge for 30 minutes. It should then be ready for baking.
Nutrition
- 106kcals Calories
- 0.4g fat (0.1g saturated) Fat
- 2.9g protein Protein
- 22.2g carbs (0.2g sugars) Carbs
- 1.1g fibre Fibre
- 0.7g salt Salt
Per slice

Rate and review
Rate
Reviews
To make wholegrain loaf, can you just swap the flour and flollow the receipe as is?


Leave a comment, question or tip