Japanese milk rolls
- Published: 11 May 16
- Updated: 18 Mar 24
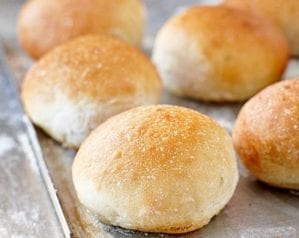
These soft, slightly sweetened Japanese milk rolls make a delightful breakfast or afternoon treat.
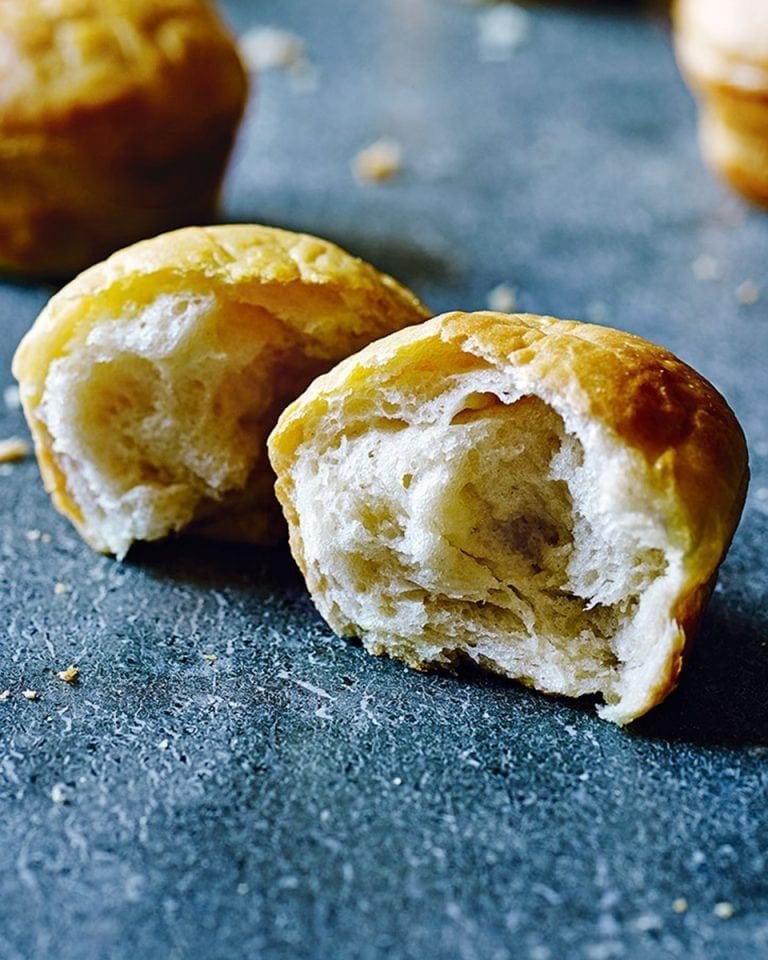
See our guide for how to make cinnamon rolls too if you prefer something a little sweeter.
-
Makes 12 rolls
-
Hands-on 45 min, oven 20 min, plus rising & proving
Ingredients
For the starter
- 25g strong white bread flour
- 100ml whole milk
- 50ml double cream, plus extra for brushing
For the dough
- 350g strong white bread flour
- 25g caster sugar
- 1 tsp salt
- 15g fresh yeast, from bakeries, large supermarkets and health food shops
- 210-230ml whole milk, lukewarm
- 70g unsalted butter, well softened and cubed, plus extra for greasing
You’ll also need…
- 12-hole muffin tray, greased with butter
Method
- To make the starter, put the flour into a small saucepan. Stir in the milk and cream, then bring to a simmer over a low-medium heat. Cook for 5-8 minutes, stirring often, until the mixture thickens (like a loose roux) and comes away from the sides of the pan as you stir. Scrape out the starter into a bowl (use a spatula), cover with a piece of cling film directly touching the surface, then leave to cool to nearly room temperature.
- In a large mixing bowl (or the bowl of a stand mixer), combine the flour, sugar and salt. Crumble the yeast into the bowl, then rub it into the flour mixture until there are no big lumps. Add 210ml milk and the cooled starter to the flour, then stir with a palette knife (or the dough mixer’s hook) to bring together – add the remaining 20ml milk if the dough looks too dry.
- Turn out and knead on an unfloured surface (or using a stand mixer) until smooth and elastic – it will be a very wet dough so if you’re kneading by hand use the pull-and-slap technique (see This Month In Our Test Kitchen). It will be messy at the start, but it will come together after a while (you might find a helper useful to ease tired arms).
- Once smooth, you can begin to incorporate the butter – again using the pull-and-slap technique. Put a piece of butter in the middle of the dough, bring up half of it to enclose the butter, then pull it up high and slap it down until the butter is incorporated into the dough. Repeat until you’ve used all the butter – the dough will be smooth, glossy and very sticky. If using a stand mixer, knead in the butter, a small lump at a time, using the dough hook.
- Lightly butter the inside of a large mixing bowl, scoop up the dough into a rough ball, then drop it gently into the bowl. Cover with a dry tea towel and leave somewhere warm to rise for 50-60 minutes until doubled in size.
- Tip the risen dough back onto a work surface and punch it down (knock back) to distribute the air. With oiled hands divide into 12 equal balls, then drop them into the cups of the muffin tray. Cover with a plastic bag or piece of lightly oiled cling film and leave to prove for 30 minutes until puffed. Meanwhile, heat the oven to 180°C/160°C fan/gas 4.
- Once the rolls have proved, brush them all over with cream, then bake in the oven for 20 minutes until golden brown and shiny. Remove from the tin, leave to cool, then tear apart and eat.
- Recipe from April 2016 Issue
Nutrition
Per roll
- Calories
- 207kcals
- Fat
- 8.6g (5.3g saturated)
- Protein
- 5g
- Carbohydrates
- 26.9g (3.5g sugars)
- Fibre
- 1g
- Salt
- 0.4g
delicious. tips
If you’re kneading by hand, we recommend you add three-quarters of the liquid, then see if it needs the rest (some flours take more liquid than others). If the dough really is too wet to knead, add an extra handful of flour.
A plastic dough scraper is useful when hand-kneading wet, sticky dough – find them in all good cookshops or on Amazon.
You can leave the dough to rise overnight in the fridge. Bring it back to room temperature before shaping and proving. You can also freeze dough after kneading: freeze in an airtight freezer bag, easing out as much of the air as you can before sealing. Defrost completely, then let the dough puff up again before shaping and proving. After overnight rising or freezing, it may take a bit longer than usual to prove.
These rolls get their soft, light and airy nature from their roux-like starter (tangzhong). They’re best a few hours after baking.
Buy ingredients online
Rate & review
Rate
Reviews
Subscribe to our magazine
Food stories, skills and tested recipes, straight to your door... Enjoy 5 issues for just £5 with our special introductory offer.
Subscribe
Unleash your inner chef
Looking for inspiration? Receive the latest recipes with our newsletter

