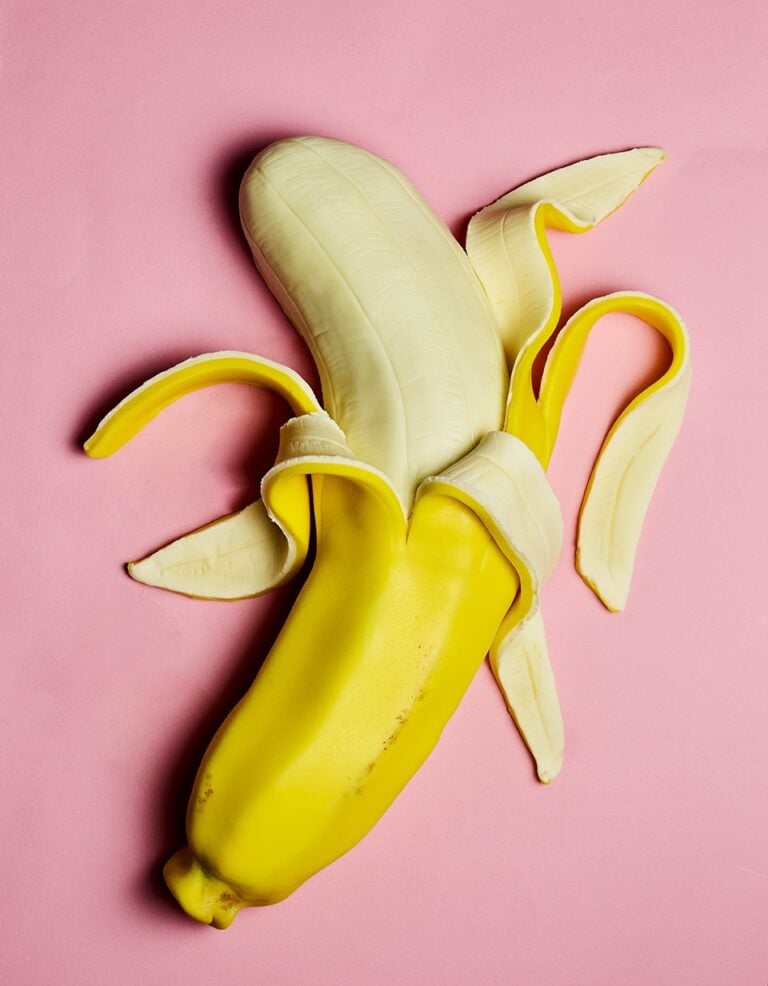
Seriously a-peel-ing, this cartoonish banana illusion cake is bound to make a statement statement at whatever occasion you’re making it for. It’s also really simple to make, so perfect if you’re new to the world of cake decorating.
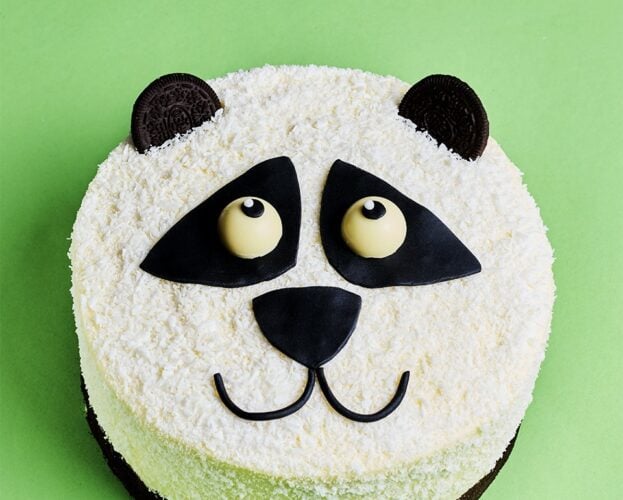
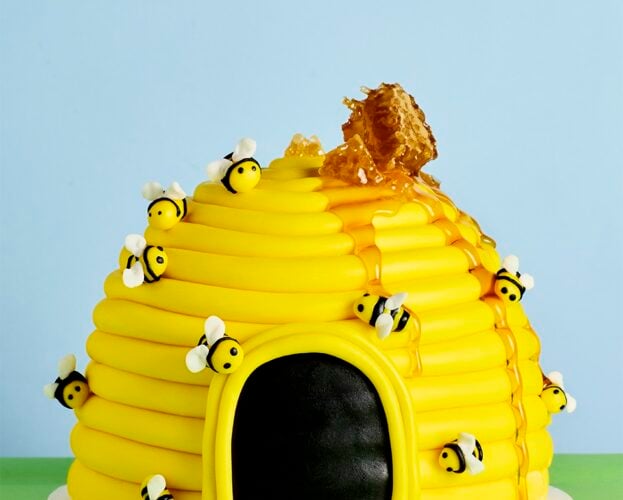
Loved this playful bake? Try our cute beehive cake, too.

Join Extradelicious to unlock Cook Mode
Ingredients
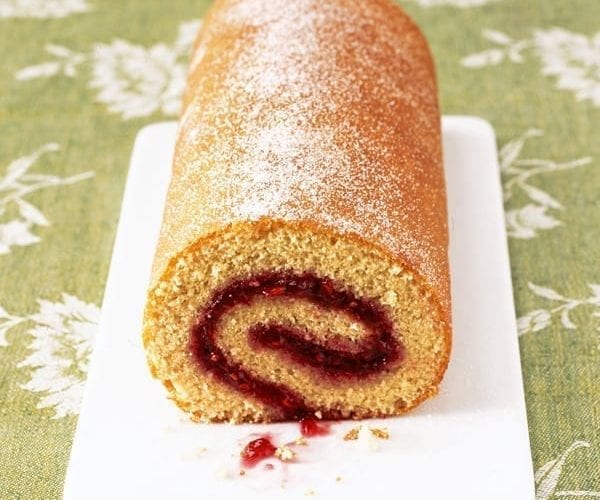
- 450g swiss roll, homemade or shop-bought
- 400g buttercream
- 500g white fondant icing
- Icing sugar to dust
- 500g yellow fondant icing
- Cocoa powder to dust
Specialist kit
- Small paintbrush
- Palette knife
Join Extradelicious to unlock Cook Mode
Method
- Cut each swiss roll into 4cm slices, then line them up on a large board, creating a slight curve. Use the buttercream to stick each slice together – any gaps between the slices can be packed with more buttercream.
- Use a sharp knife to carve out a realistic banana shape. Flatten the top and sides slightly to create the natural ridges and make one end curved (this will be the tip of your banana). Use any offcuts of sponge to patch or build up any areas that need it. When you’re happy with the shape, cover the whole thing in a thin layer of buttercream – this is your crumb coat that keeps all the crumbs contained. Put the cake in the fridge for 15 minutes to firm up.
- Spread a thicker layer of buttercream over the whole banana, accentuating the ridges and curves.
- Roll out half the white fondant icing on a work surface dusted with icing sugar until it’s around 2-3mm thick. Carefully lay this over the top half of your banana (this will be the peeled end), then press it well all over so it sticks to the sponge. Trim the excess fondant away and tuck the edges of the fondant under the sponge so you have a neat seal – a little knife is a great tool for this job.
- Roll out the rest of the white fondant icing, again aiming for 2-3mm, then gently lay it over the banana once more. Press it lightly so it forms the same shape as the layer below, but don’t press too hard as you don’t want it to stick. Trim away the excess.
- Roll out the yellow fondant, using plenty of icing sugar to stop it from sticking, until 2-3mm thick – it should be much larger than your banana. Brush the white fondant icing with a little water, then lay the yellow fondant over the top to cover completely. Trim around the edges and tuck the edges under the sponge to finish it neatly.
- Now that it’s fully covered we want to peel back the top half to create the strips of peel. Very carefully use a sharp knife to cut through the 2 top layers of fondant from the top of your banana to about halfway down – try not to cut through the very bottom layer of fondant. Try to align the edges of your strips with the ridges you’ve created for a more natural look. Peel back the yellow and white layers and lay down wherever looks realistic over the bottom half of the sponge and board.
- You now have a beautiful peeled banana! But if you want to make it even more realistic, use the wrong end of a small paintbrush to create some texture in the white icing areas, carrying on those ridges. You can also use some cocoa powder applied with a small paintbrush to add some definition and shading to the yellow peel.
Nutrition
- 586kcals Calories
- 8.4 (4.1g saturated) Fat
- 3.1 Protein
- 124 (116g sugars) Carbs
- 0.9 Fibre
- 0.8 Salt

Leave a comment, question or tip