What’s the secret to perfection when a recipe is simple – yet so easy to get wrong? To find out, we pitted our go-to method against three different techniques… Which scone rose victorious?
3 alternative ways to make classic scones
In the kitchen |
January 2019
What’s the secret to perfection when a recipe is simple – yet so easy to get wrong? To find out, we pitted our go-to method against three different techniques… Which scone rose victorious?
Check out our recipe for classic scones here.
THE LUXE SCONE
What we tried
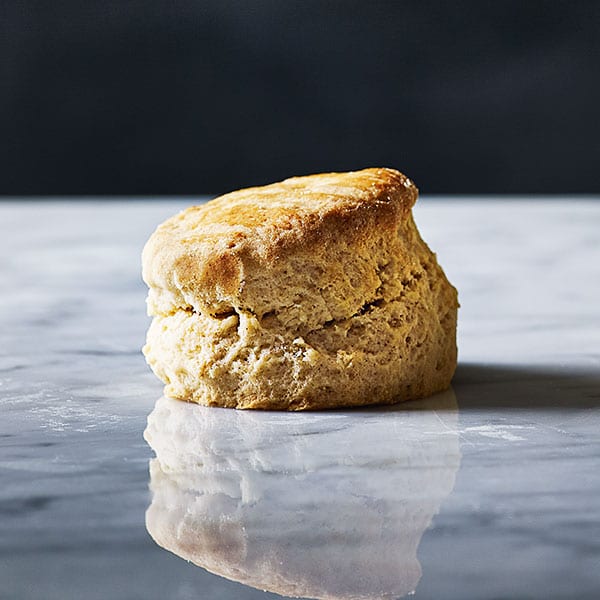
Some recipes use buttermilk (in the olden days they used sour milk), but we’d heard you can make excellent scones using double cream, so obviously we wanted to give it a try. We swapped the milk for the same quantity of double cream but found we needed to add a dollop more because the scone dough was drier.
Verdict
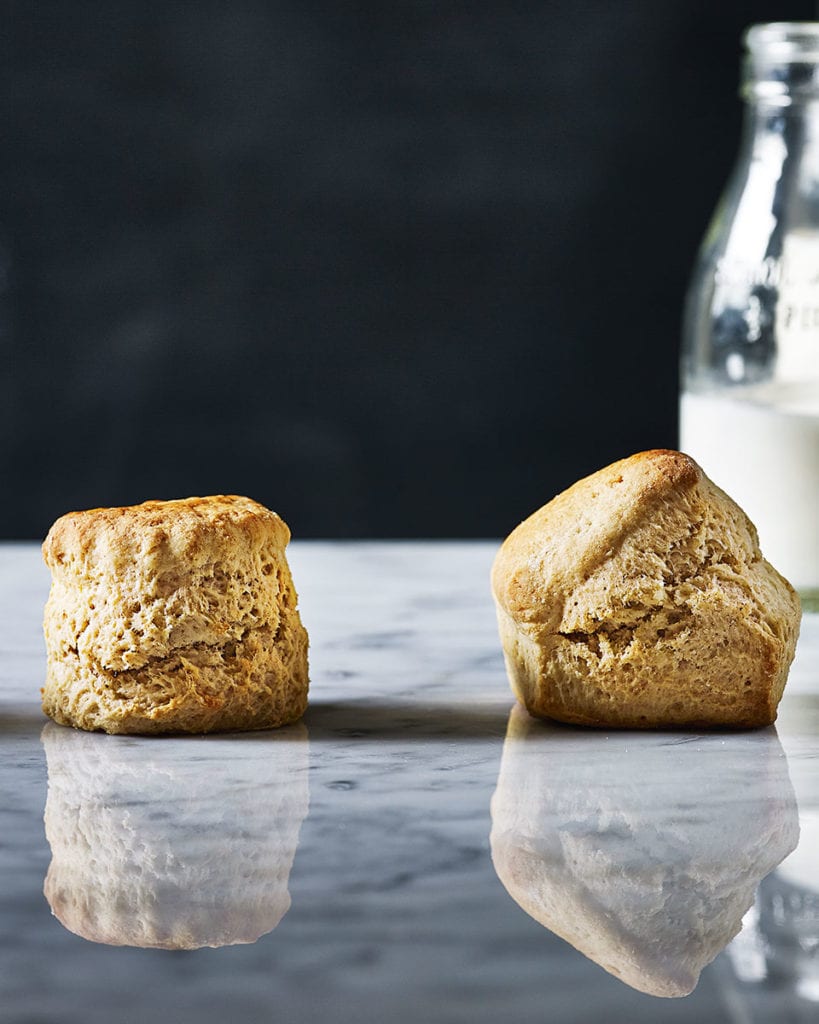
The higher fat content made the scones short, crumbly and delicious, but they didn’t rise quite as much. Why? Because the additional fat in the cream makes the dough heavier, impeding the rise slightly – and they seemed fatter at the base. The uneven rise let the appearance down slightly.
Score: 4/5
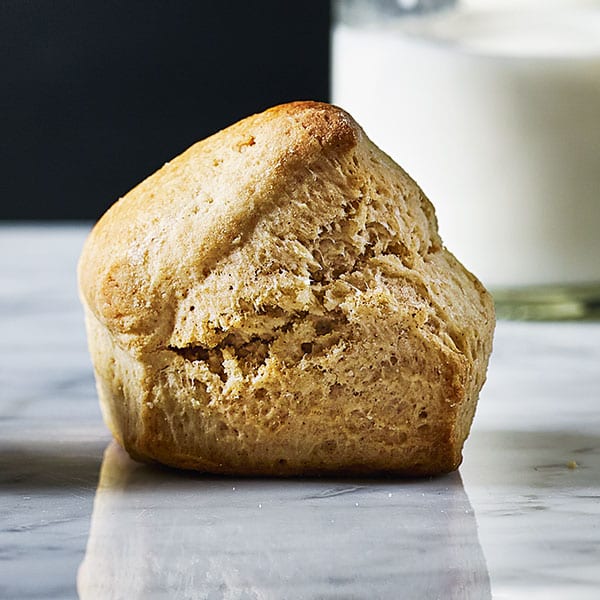
THE RISE-BOOSTER
What we tried
Some cooks like to add baking powder to the self-raising flour to give the scones an extra push upwards. We added 1 tsp baking powder to our classic recipe to see how it affected the look – and the taste.

Verdict
Surprisingly, the scones didn’t look that much different – and, even if they had, this test proves looks aren’t everything. The problem with adding more baking powder is that, because scones only spend a relatively short time in the oven, the taste of the raising agent doesn’t cook out. The baking powder adds a soapy flavour that can’t be masked with cream or jam. Disappointing.
Score: 2/5
THE TIME-SAVER
What we tried
For speedy scones we used the same ingredients and measures but whizzed everything together in a food processor (it takes seconds), rolled it into a square, then trimmed the edges and used a bread scraper (you could use a large sharp knife if you don’t have one) to cut 6 equal squares. No faffing with the cutter or re-rolling of the dough.
Verdict
The scones were slightly larger (only 6 of them) and a little wonky at the corners – not smart enough for afternoon tea. The texture was a little more dense, but the flavour was (not surprisingly) identical to the classic method. The total hands-on time was cut to 15 minutes.
Score: 3/5
The test kitchen conclusion…
Why mess with a classic? In the case of scones, you can’t beat it.
TROUBLESHOOTING
For heavy, dense scones…
If you’ve not overworked the dough or used stale flour (the raising agent in self-raising flour can lose its power over time), it could be a lack of liquid. Make sure the dough is slightly sticky and not remotely dry. Also, be quick. Once the raising agent in the flour meets the liquid it starts to work, so get the scones in the oven fast or they’ll rise less and you could end up with scones of stone.
For an uneven rise…
Don’t twist the cutter when you stamp out the scones. A clean, straight cut with a floured cutter allows the scones to rise straight with no snags or twists in the dough, which will cause the scones to rise unevenly and deform. If you still end up with a few lopsided specimens it could be because your oven has an uneven temperature (hotter on one side than the other).
Subscribe to our magazine
Food stories, skills and tested recipes, straight to your door… Enjoy 5 issues for just £5 with our special introductory offer
By joining our newsletter you agree to our
Privacy Policy
