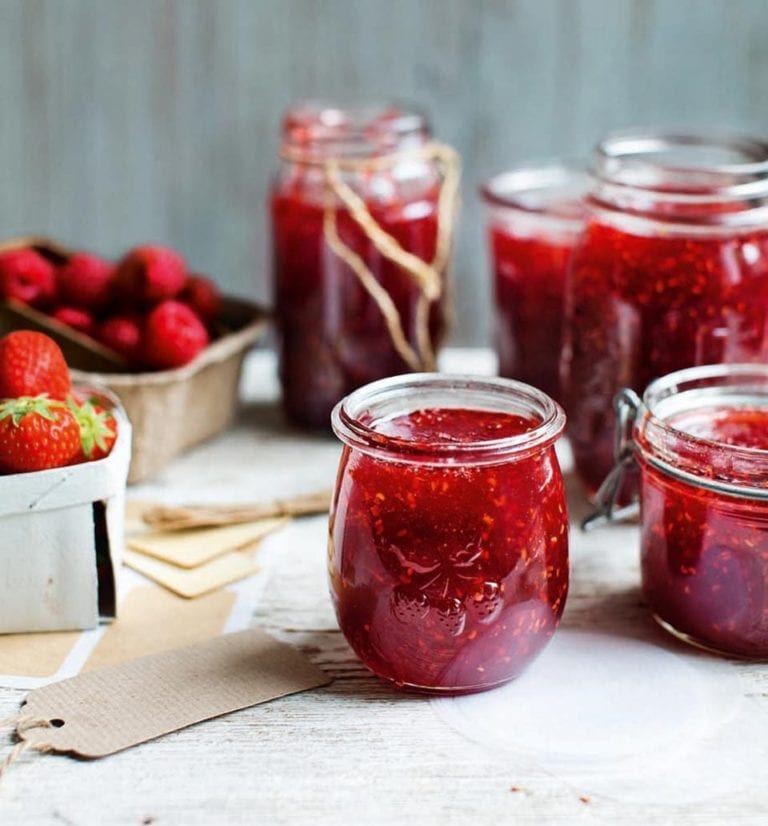
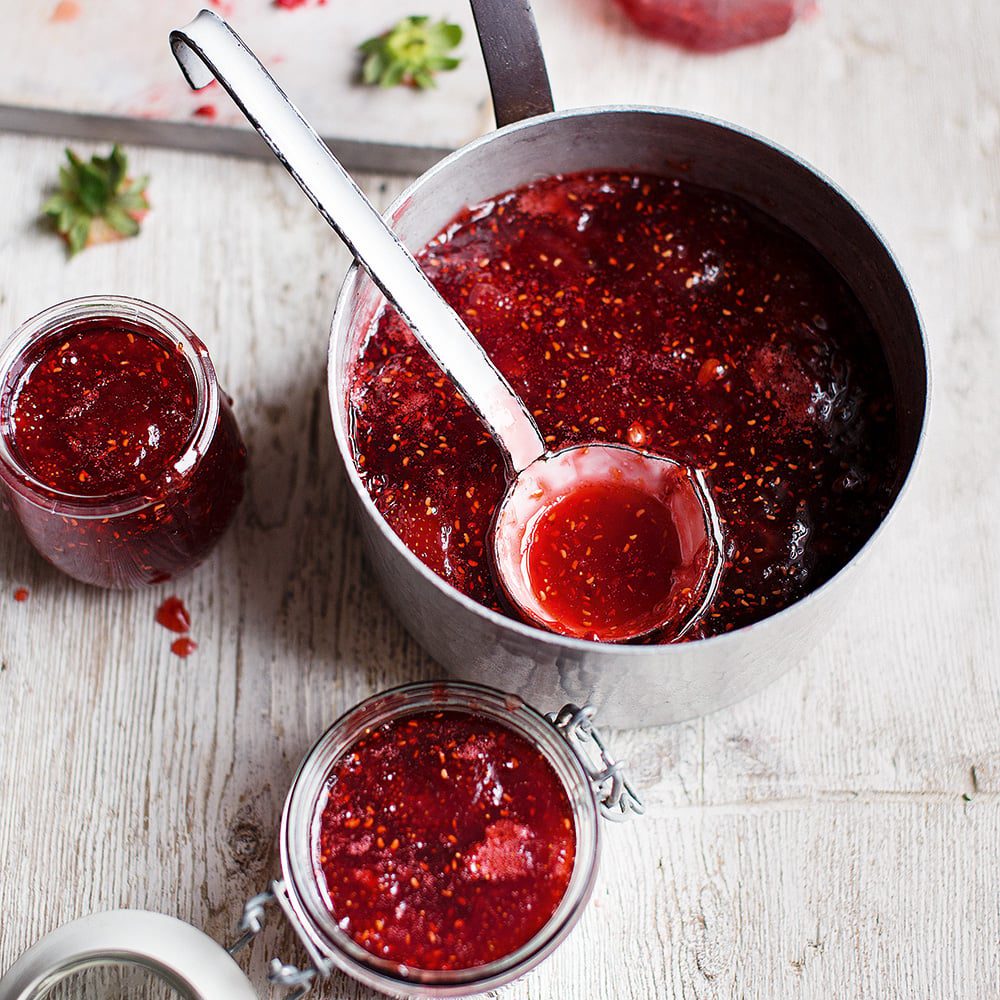
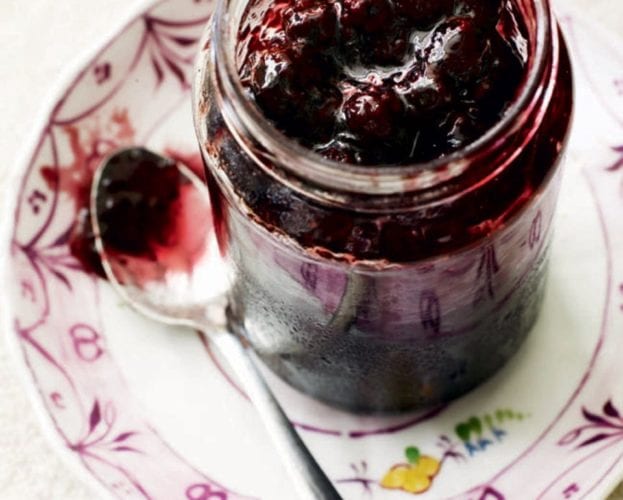
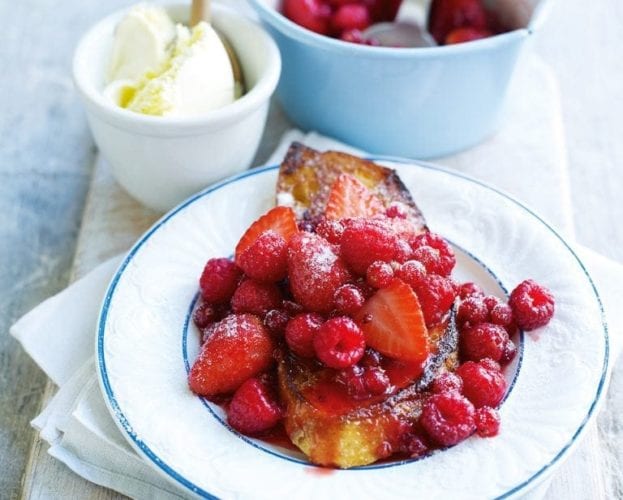
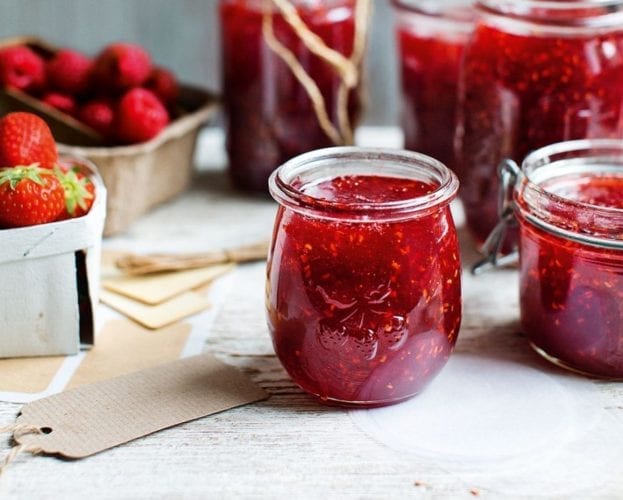
Learn how to make classic summer berry jam with strawberries and raspberries with this step-by-step recipe by food writer Lizzie Kamenetzky.
“Making jam is the best way to preserve the taste of summer long after the clocks go back and the nights draw in,” says Lizzie. “With British strawberries and raspberries at their best in the summer (not to mention their cheapest), it would seem rude not to whip up a few jarfuls.”
Follow our tips to perfect this challenging recipe every time. “Thoughts of perfectly set pots of preserve on trestle tables at summer fetes, graded by critical judges with clipboards, have made many home cooks fearful of jam-making. But the truth is, while there are a few rules to adhere to, it’s really not that daunting a task – and, with this handholding recipe, the rewards are fruitful.”
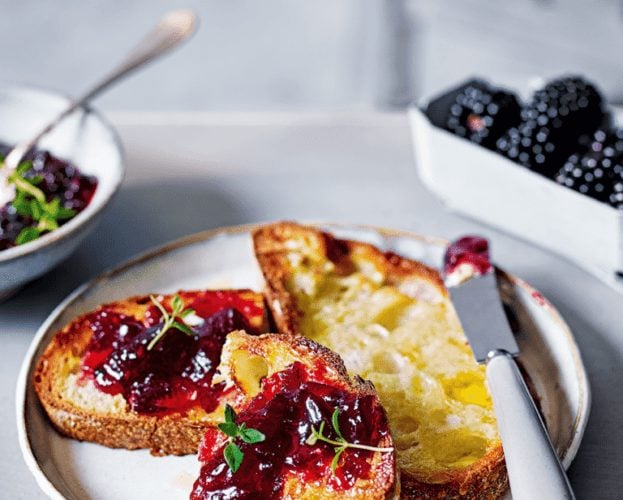
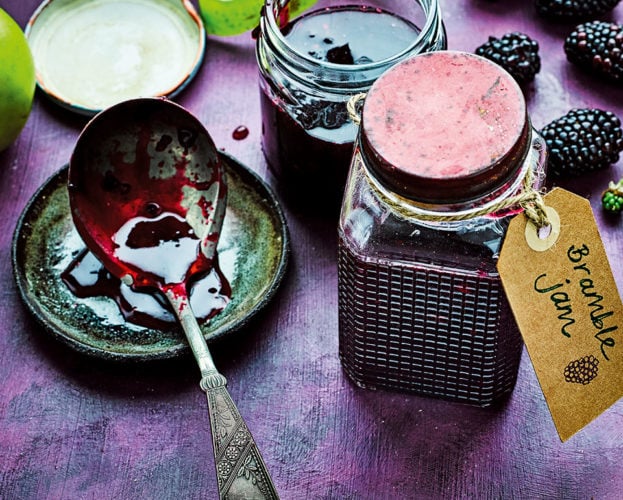
Looking to make jam in the autumn months? Try our blackberry jam.

Ingredients
- 500g strawberries, hulled and halved if very large
- 500g raspberries
- 900g jam sugar
- Juice 1 lemon
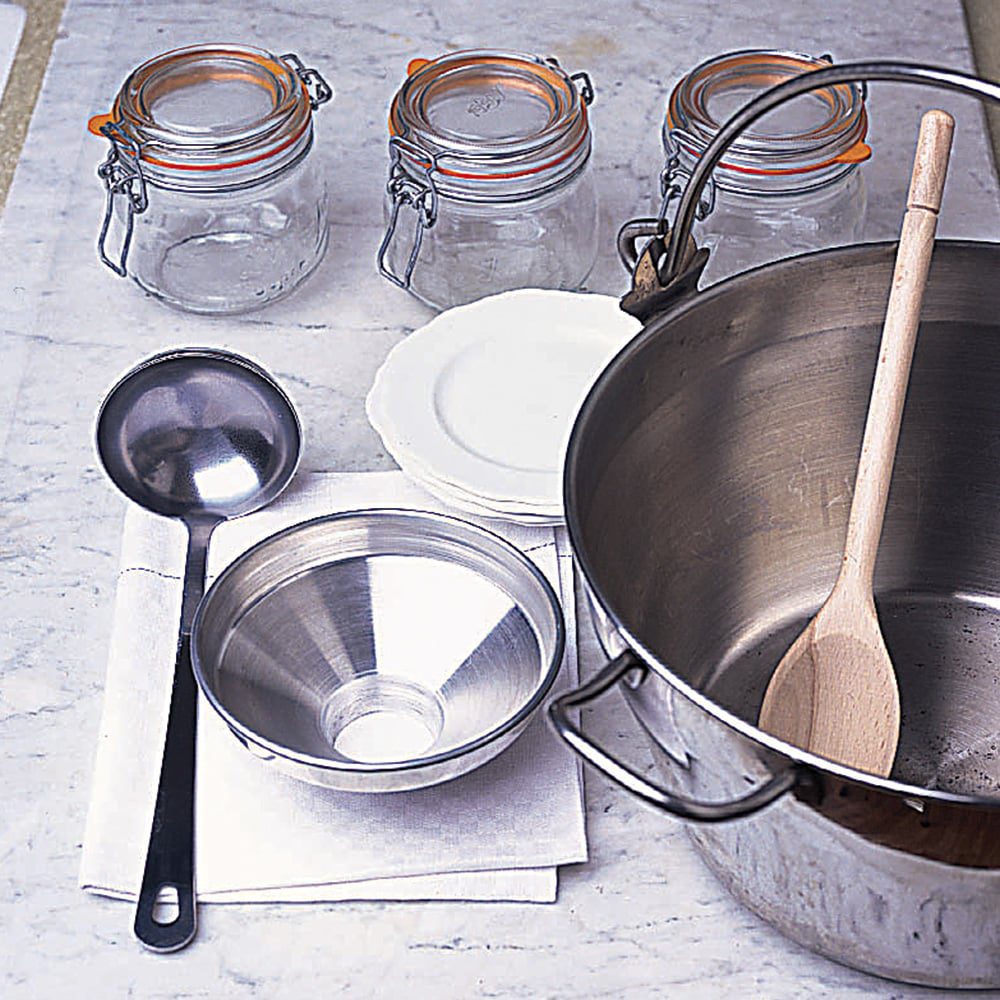
You’ll also need
- Large preserving pan
- Jam/sugar/digital thermometer
- 6 sterilised jam jars or small kilner jars
- Ladle
- Jam funnel or narrow-spout jug
- 6 wax discs and jam covers or lids to seal the jars, from Lakeland
Method
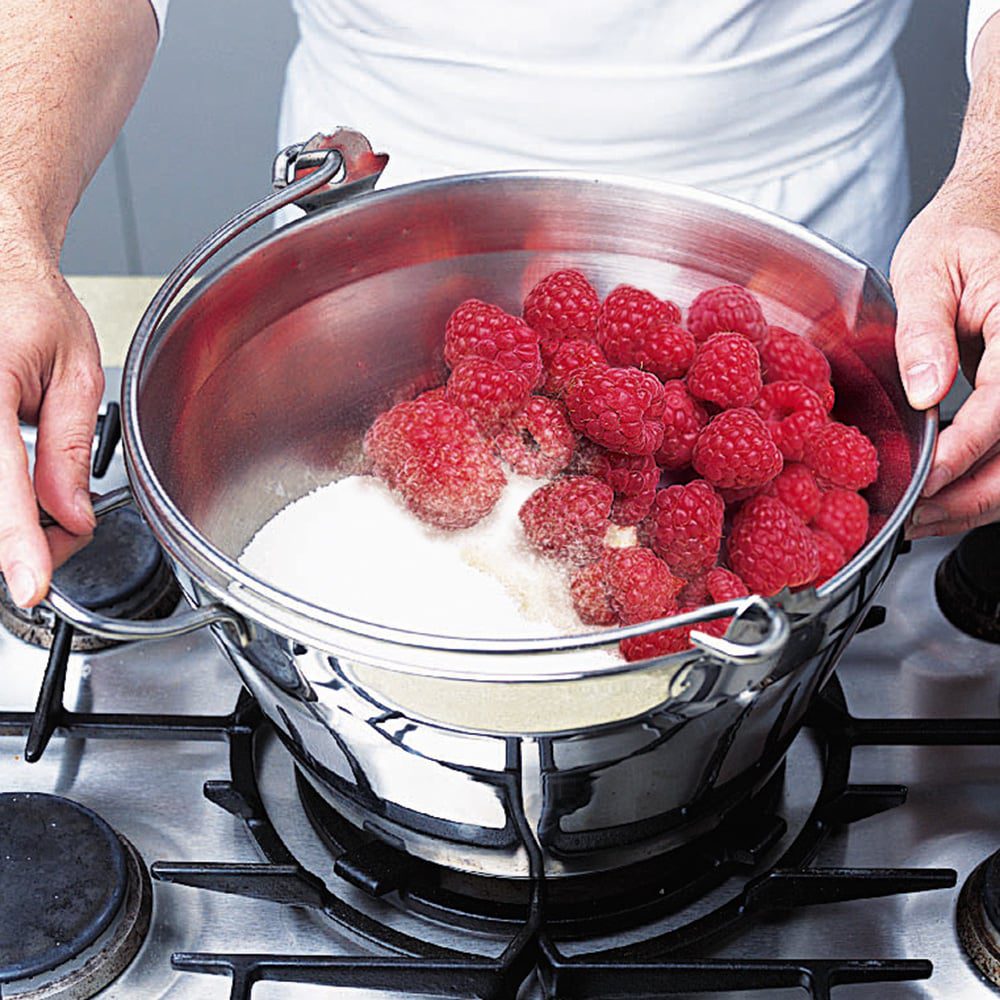
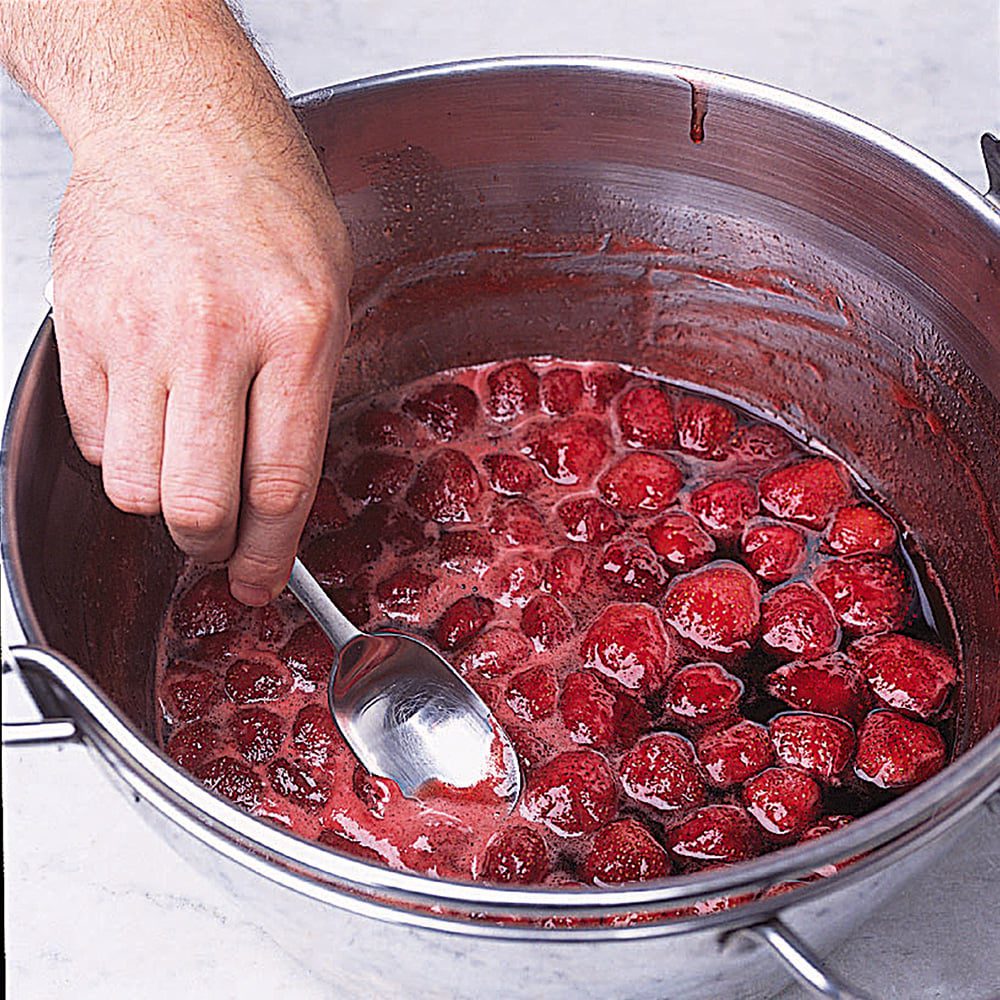
- Put all the berries in a large preserving pan with the jam sugar and lemon juice. Leave to macerate for at least 15-20 minutes, stirring occasionally with a wooden spoon and gently squashing the berries (see tip). This will help the sugar to dissolve and draw the juices out of the berries.
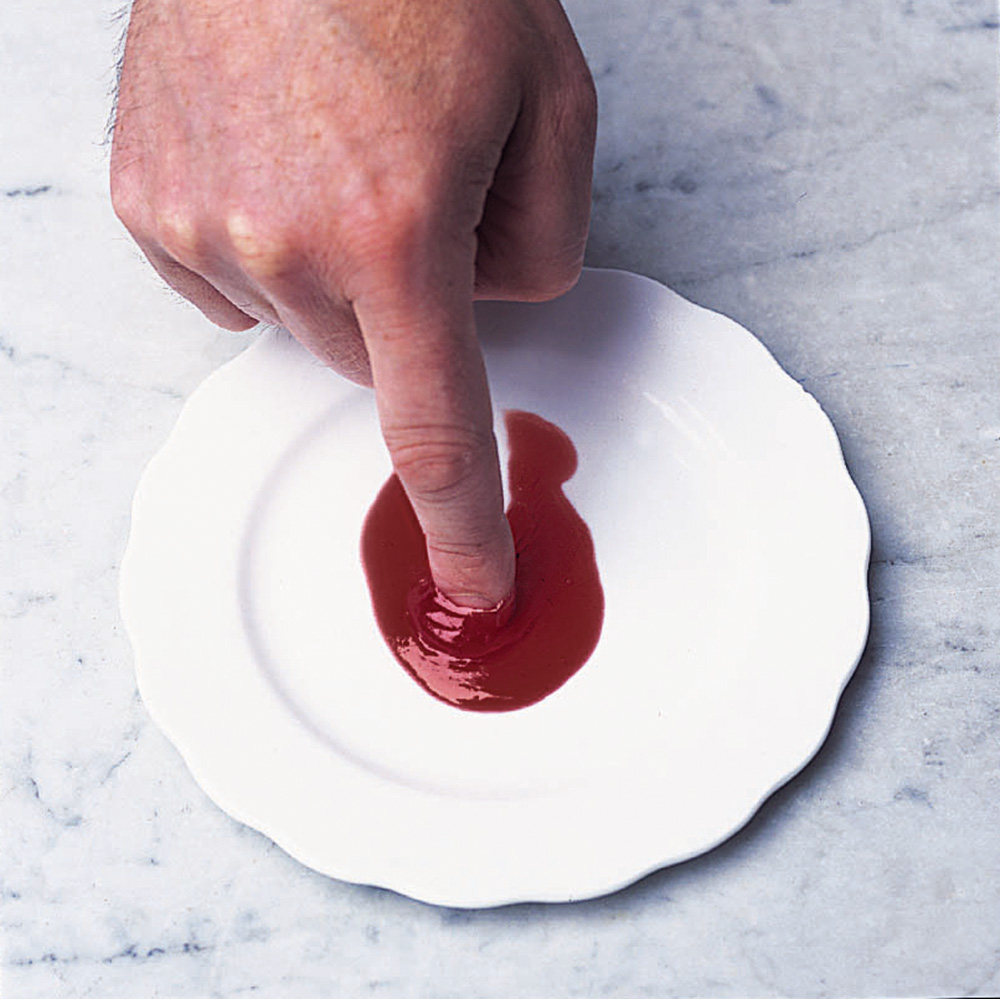
- Put a couple of small plates in the freezer ready for testing the set of the jam.
- Put the preserving pan over a low heat and warm gently until all the sugar has dissolved.
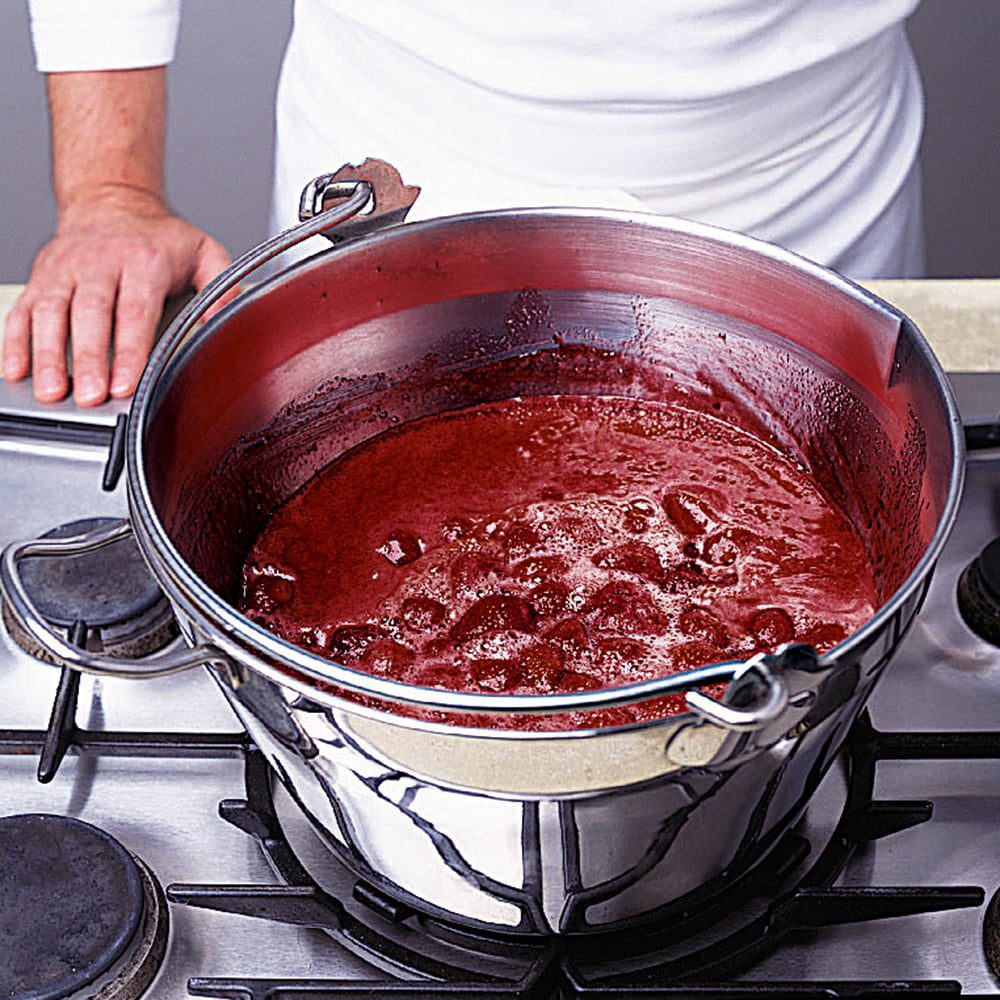
- Increase the heat and bring the mixture to a vigorous boil. Test the temperature with a jam or digital thermometer – when it reads 105°C, you can test the set of the jam. (It should only take 3-4 minutes to get there but, depending on how vigorous your boil and the size of your pan, it may take up to 10-15 minutes.) The bubbles should become larger and rise to the surface more slowly, and the jam should look a bit thicker.
- Remove the pan from the heat and spoon a small amount of jam onto a cold plate from the freezer. After a few seconds, push your finger through it – if it wrinkles up around your finger it has reached setting point. If not, return the jam to the heat and boil for a minute more, then repeat the wrinkle test on another cold plate from the freezer.
- Once the jam is ready, leave it in the pan off the heat for 10 minutes, then skim off any scum that rises to the surface.
- Ladle the hot jam into still-warm sterilised jars using a jam funnel or use a narrow-spout jug. (Take care as the jam will be scalding hot.)
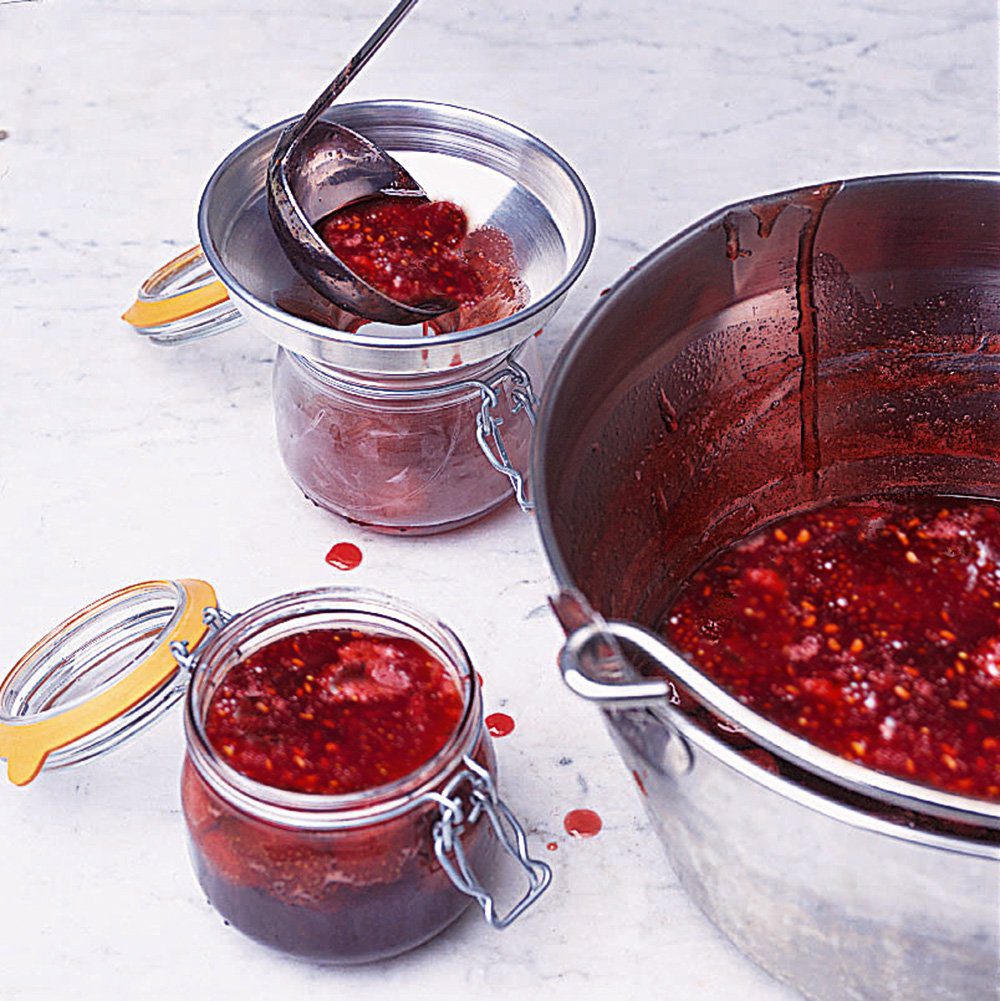
- Once filled, lay a wax disc (wax-side down) on the surface of the jam, then, while the jars of jam are still hot, seal with a lid or top with a jam cover. Leave to cool completely, then label and store in a cool dark place.
FAQs
If sugar is heated too quickly it can crystallise and, once formed, sugar crystals are very difficult to re-melt – especially when you have other ingredients in the pan, too. To avoid this, allow the sugar to completely dissolve over a very low heat before bringing it up to the boil.
Yes. To avoid this, take the pan off the heat to test the set of the jam. If it’s still bubbling away while you spoon it onto the chilled plate to test, it may overcook. Remember, you can always put the jam back on the heat if it’s not quite ready.
A long, slow boil may destroy the pectin and produce a runnier set – cook the jam at a brisk rolling boil.
Leave the jam to sit for 10 minutes before skimming off the scum. This gives the impurities time to rise to the surface. After you’ve skimmed the jam, if there are still little spots of scum visible, stir through a small knob of butter after you’ve removed the pan from the heat. This will disperse the remaining scum and give the jam added richness.
Nutrition
- 13kcals Calories
- nil Fat
- nil Protein
- 3.2g (3.2g sugars) Carbs
- 0.1g Fibre
- nil Salt


Leave a comment, question or tip