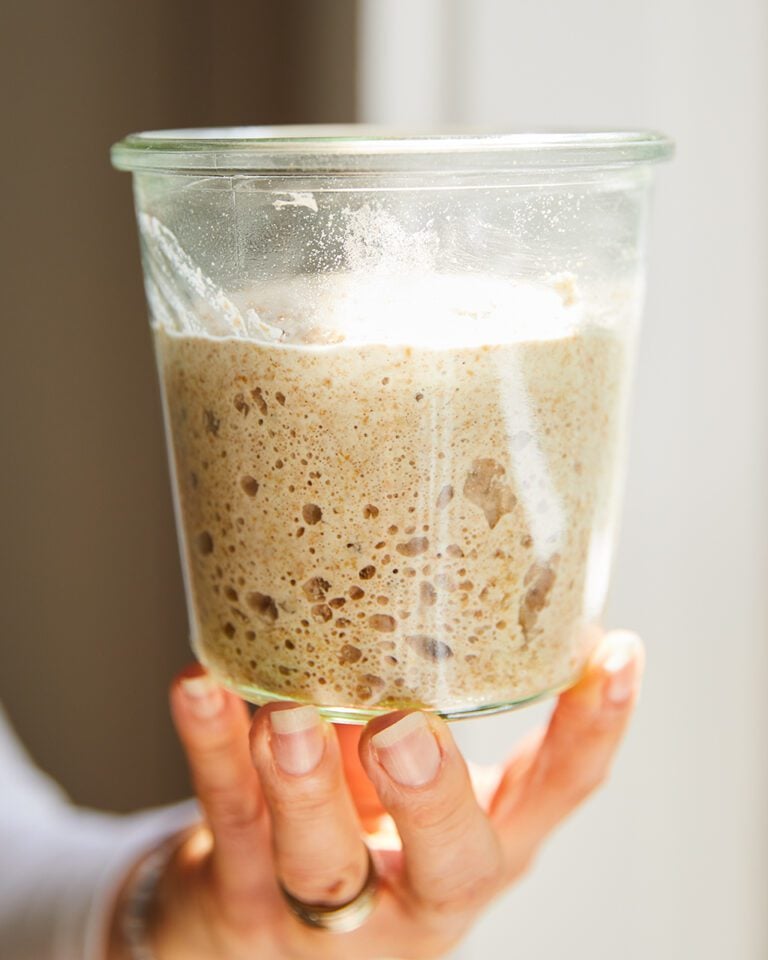
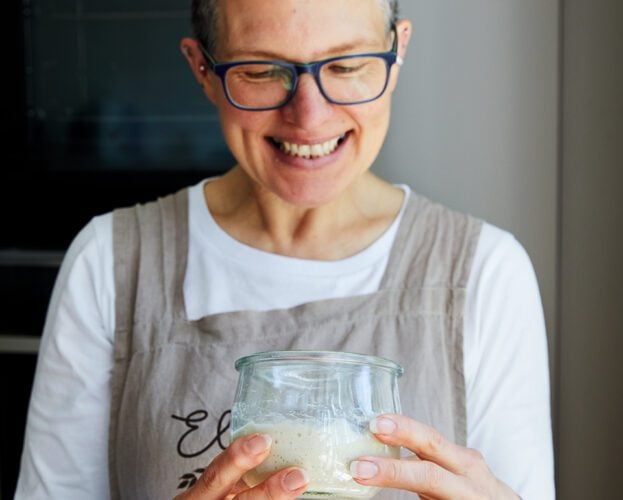
Sourdough starter
- Portion size: Makes enough to fill a 250g jar
- Hands-on time 10 min, over 7 days
- Difficulty: medium
This starter recipe is the first step on your sourdough journey. Be sure to read Elaine Boddy’s tips to better understand the process and realise just how easy and rewarding sourdough baking can be.
The recipe takes place over seven days, and each step represents a single daily action which can be done at any time of the day. After each step, stir the mixture well, scraping down the sides of the container and mixing it all in, then loosely cover the bowl/jar again and leave it on the kitchen counter. At the end of the week you’ll have your own, fully-functioning, lively-as-you-like starter forever more!
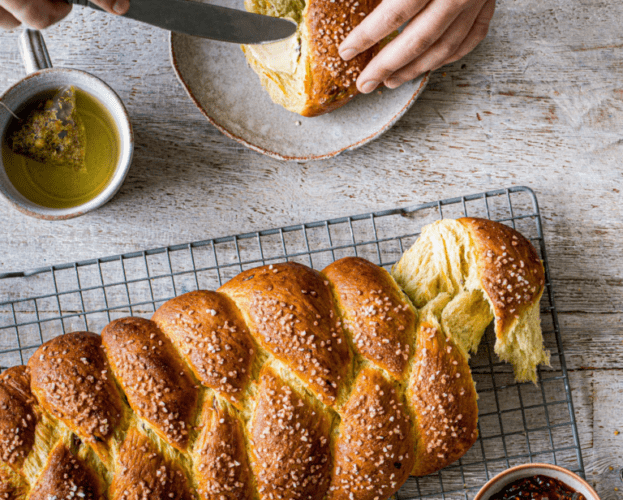
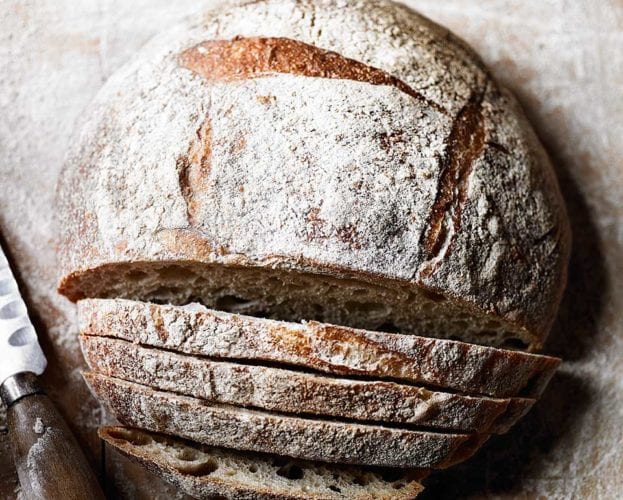
Once your starter is ready for action, use it to make Elaine’s tried-and-tested sourdough loaf.
Join Extradelicious to unlock Cook Mode
Ingredients
- 230g strong white bread flour or strong wholemeal flour
Specialist kit
- Glass bowl or lidded jar
Join Extradelicious to unlock Cook Mode
Method
- On day one, mix 50g of the flour with 50g water in a spotlessly clean jar or bowl. Stir well, loosely cover, then leave on your kitchen counter.
- On day two, add 30g flour and 30g water, then stir, cover loosely and leave once more.
- On day three, bubbles may be appearing in your starter and it could smell eggy or cheesy or wheaty or sour (if using wholemeal flour). Add 30g flour and 30g water, then stir and leave as above.
- On day four, the starter might be smelling like vinegar (which is normal – it should the process is in full flow). Remove and discard half the starter (see Elaine’s tips below), then add 30g flour and 30g water. Stir and leave as above.
- On day five, if your starter is now looking less active and bubbly, do not be disheartened – it’s all part of the process. Stick with it and keep building the strength in your starter. Add 30g flour and 30g water, then stir and leave as above.
- On day six, remove and discard half the starter. Add 30g flour and 30g water, then stir and leave as above.
- On day seven, you should hopefully be seeing bubbles all the way through your starter mixture, with it growing and responding after each feed. White flour starters can look really exciting now, while wholemeal starters will be more textured, with an undulating surface. Add 30g flour and 30g water, stir and leave as above. Once it’s grown in size, it’s ready to use.
- From now on, when you want to make bread, feed your base amount of starter with 30g flour and 30g water to generate the amount of starter you will need for a single loaf using my master recipe. Stir it well (it should be a thick batter like consistency) then replace the lid and leave it to respond and become active. Once it has, remove the quantity you need for your dough, replace the lid, fit it firmly, and return your starter to the fridge until next time.


Leave a comment, question or tip