Nicola Lamb’s ultimate pavlova
- Portion size: Serves 12-16
- Prep time 40 min. Cook time 2 hours 10 min, plus at least 2 hours cooling
- Difficulty: medium
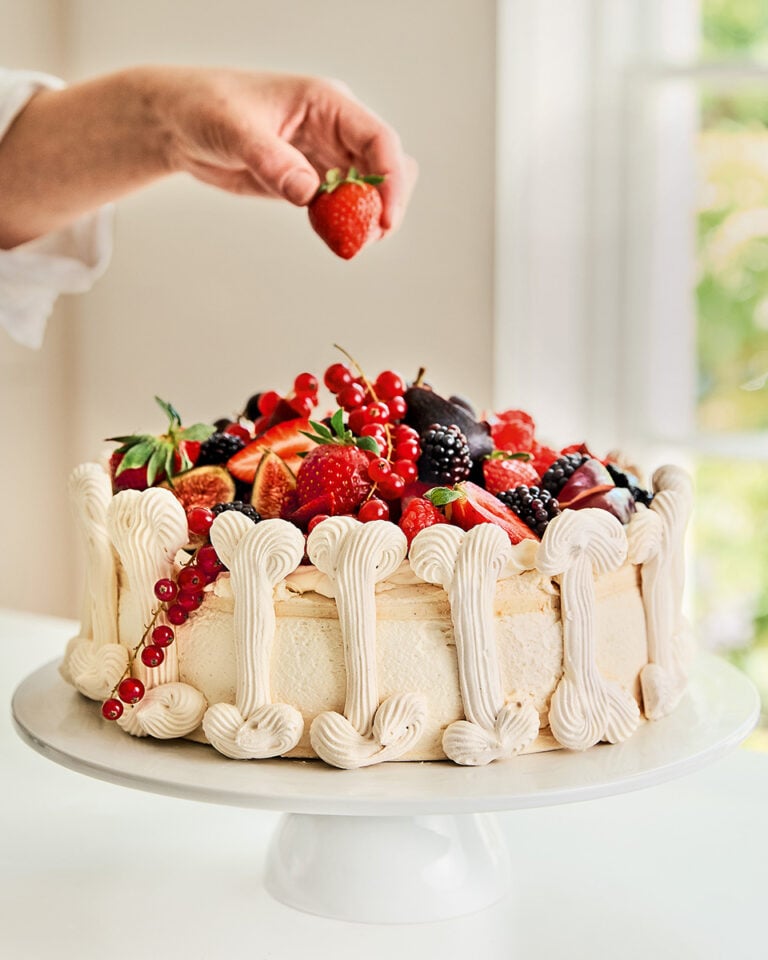
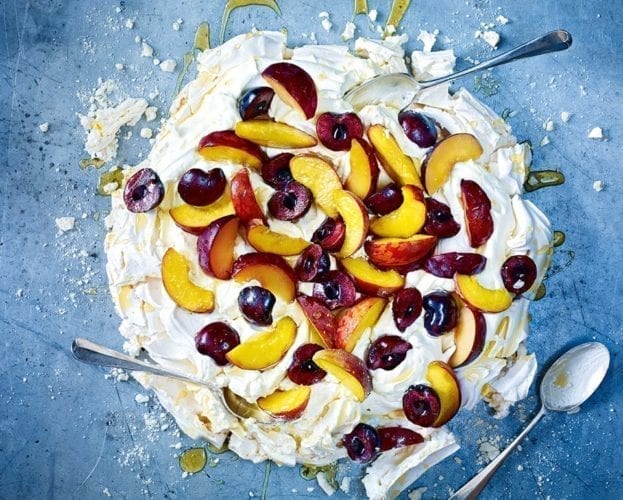
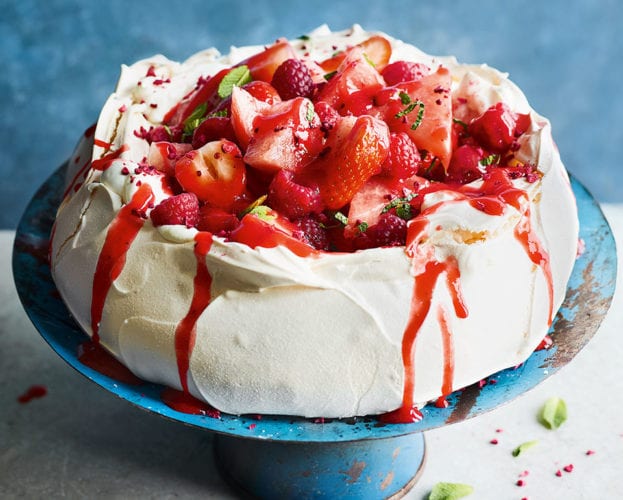
Nicola Lamb’s ultimate pavlova, topped with fresh fruits, is a showstopping make-ahead summer dessert.
- Elevated pavlova: “This is my spectacular pavlova plinth – a glorious way to display the best fruit summer has to offer,” says Nicola. Love making a pavlova? This recipe will take yours to the next level, with tips for creating an uber-stable glossy meringue. “Meringue is an incredible thing that can be piped, shaped and sculpted into whatever shape you like, so let your imagination run wild!”
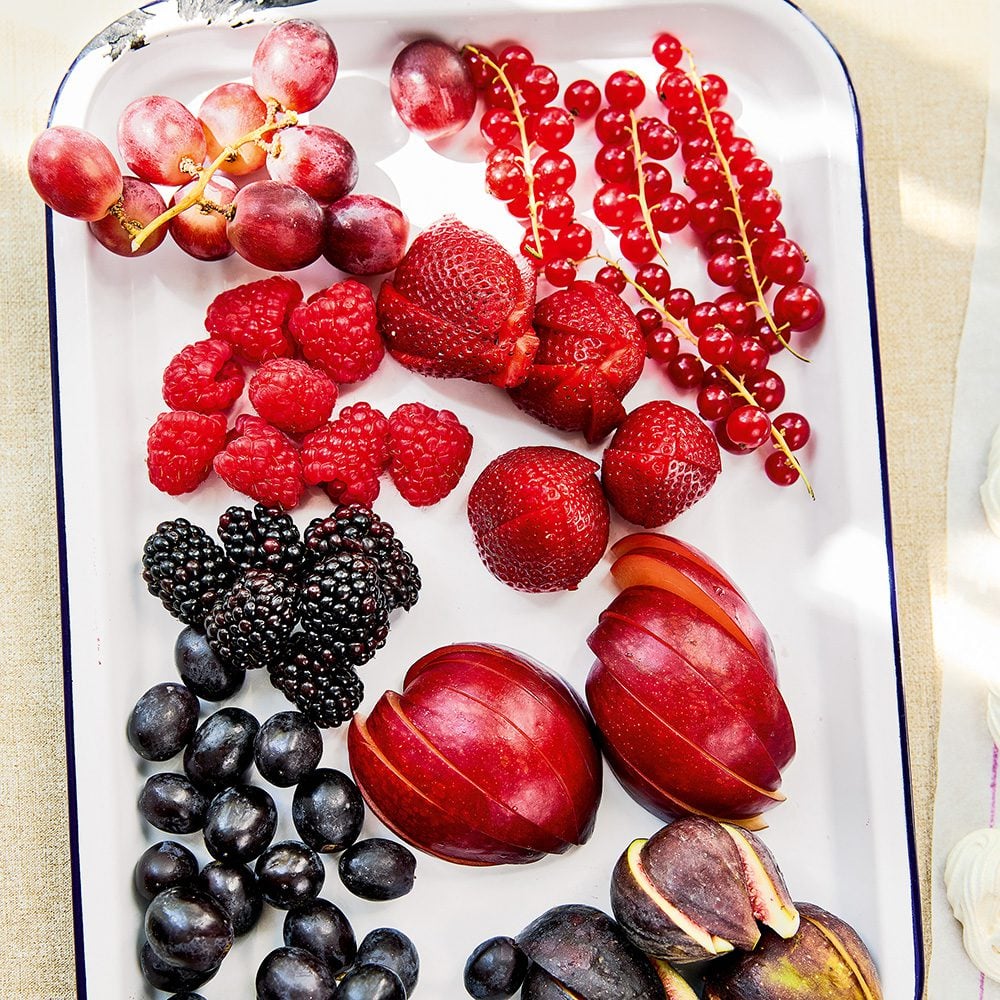
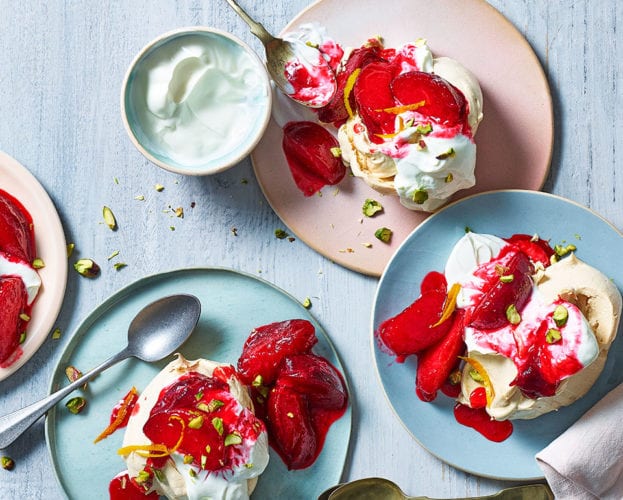
- Customisable pavlova: you can also mix up the fruit you top your pavlova with to make it your own – try peaches, raspberries, figs, grapes, strawberries, apricots, redcurrants or blackberries, depending on what’s in season.
- Make-ahead summer dessert: pipe and bake the meringue pieces up to a day ahead. The pavlova is best eaten on the day it’s assembled, so the meringue remains crisp and contrasts beautifully with the fluffy cream and fruit. It serves 12-16, making it ideal for a summer celebration – or even a wedding.
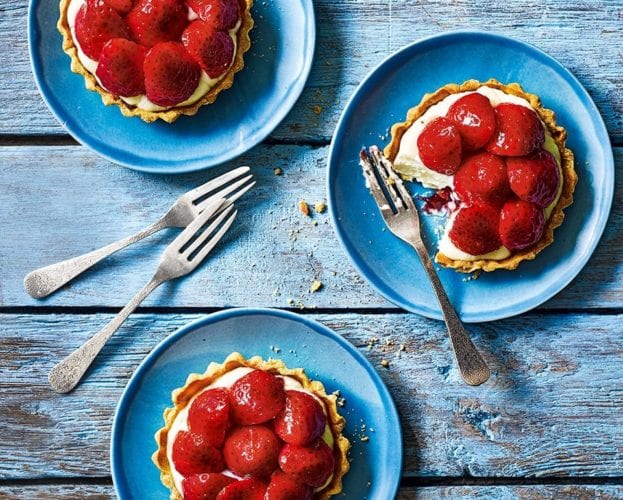
Try Nicola’s roasted strawberry brioche tart next.

Join Extradelicious to unlock Cook Mode
Ingredients
- 150g (about 5) egg whites
- 300g caster sugar
- 750ml double cream
- 100g icing sugar
- 2 tsp vanilla extract
- 750g fruit of your choice (we used berries, redcurrants, plums, figs and grapes), in bite-size pieces as necessary
Specialist kit
- Piping bags (see Pro Tip)
- Small star nozzle
- Plain nozzle
Join Extradelicious to unlock Cook Mode
Method
- Heat the oven to 200°C/180°C fan/gas 6. Meanwhile take 3 large sheets of baking paper and draw a 23cm circle on 2 of them (use a plate to guide you) with a pencil. On the third, along the top draw 2 straight lines 8cm apart. Just underneath, draw 2 more lines 8cm apart and then under these another 2 lines 8cm apart. Put each piece of paper on a large baking tray and set aside.
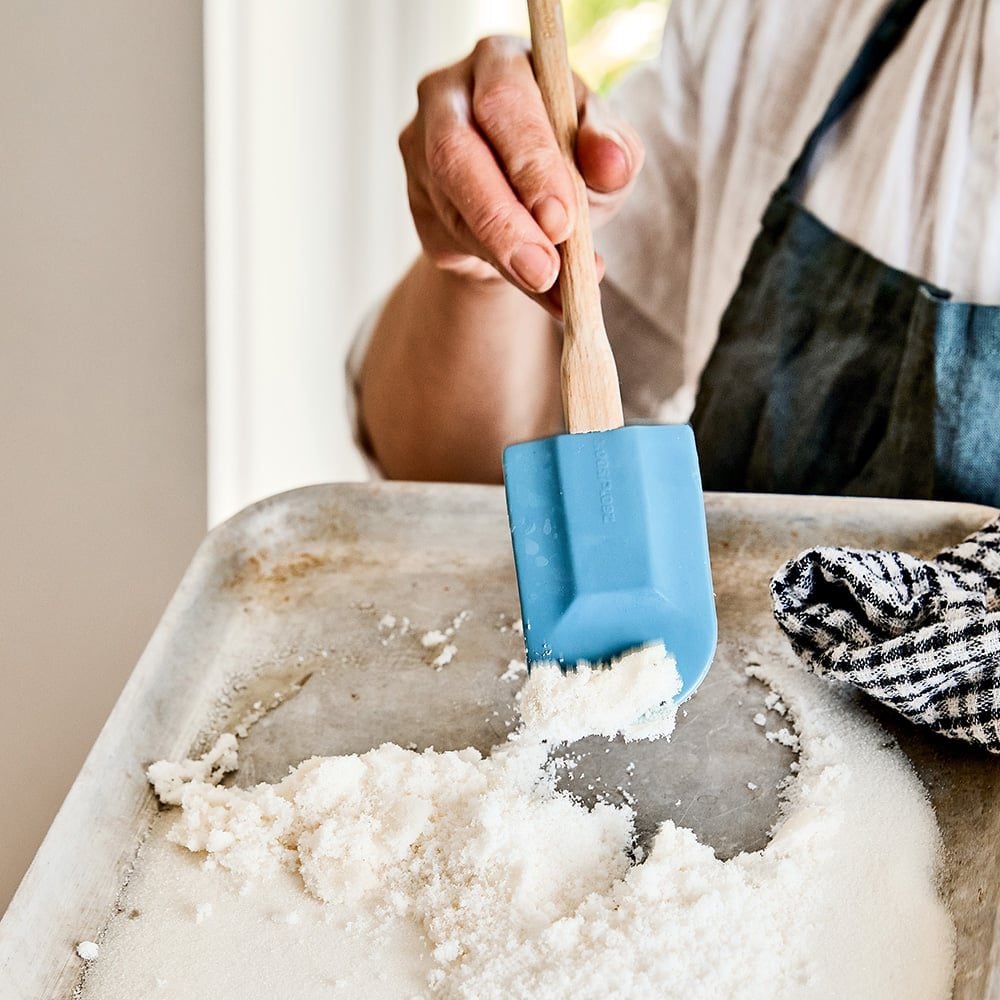
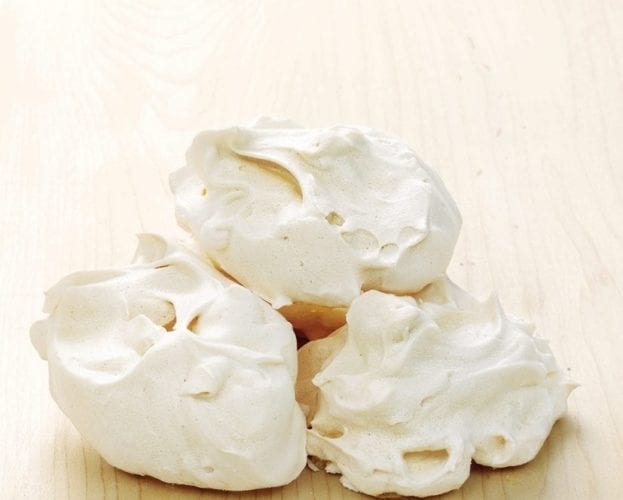
- Put the egg whites in the bowl of a stand mixer with a whisk attached (you could also use a mixing bowl and electric whisk). Spread the sugar out on a small baking tray (it should be in a roughly 1cm thick layer) and put it into the oven to cook for 10 minutes. Once 5 minutes are up, start whisking the egg whites at a low speed.
- When the sugar has been in the oven for 10 minutes, remove it from the oven and pour it all into the egg whites in a single go.
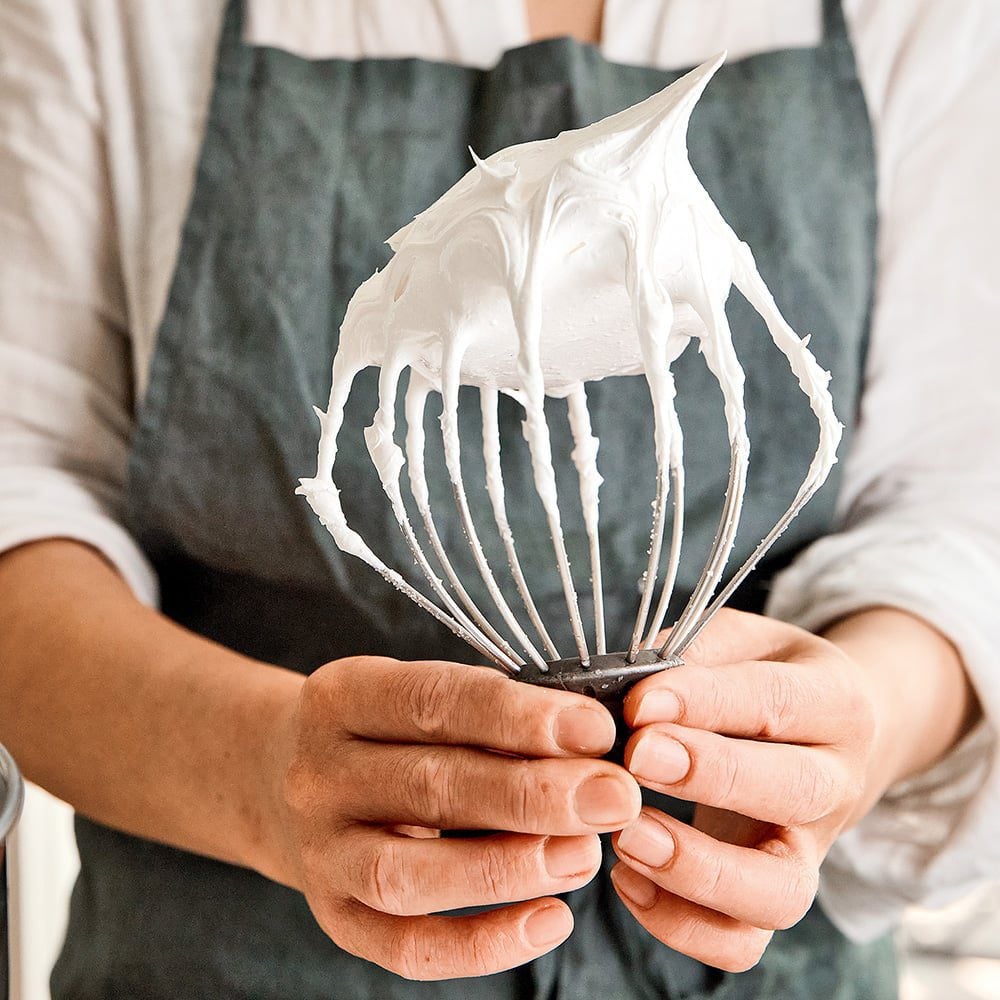
- Increase the speed of the whisk to medium-high and whisk until a very stiff meringue forms (about 10 minutes). Meanwhile, turn the oven down to 120°C/100°C fan/gas ½.
- Set up your piping bag with the star nozzle – see Tips.

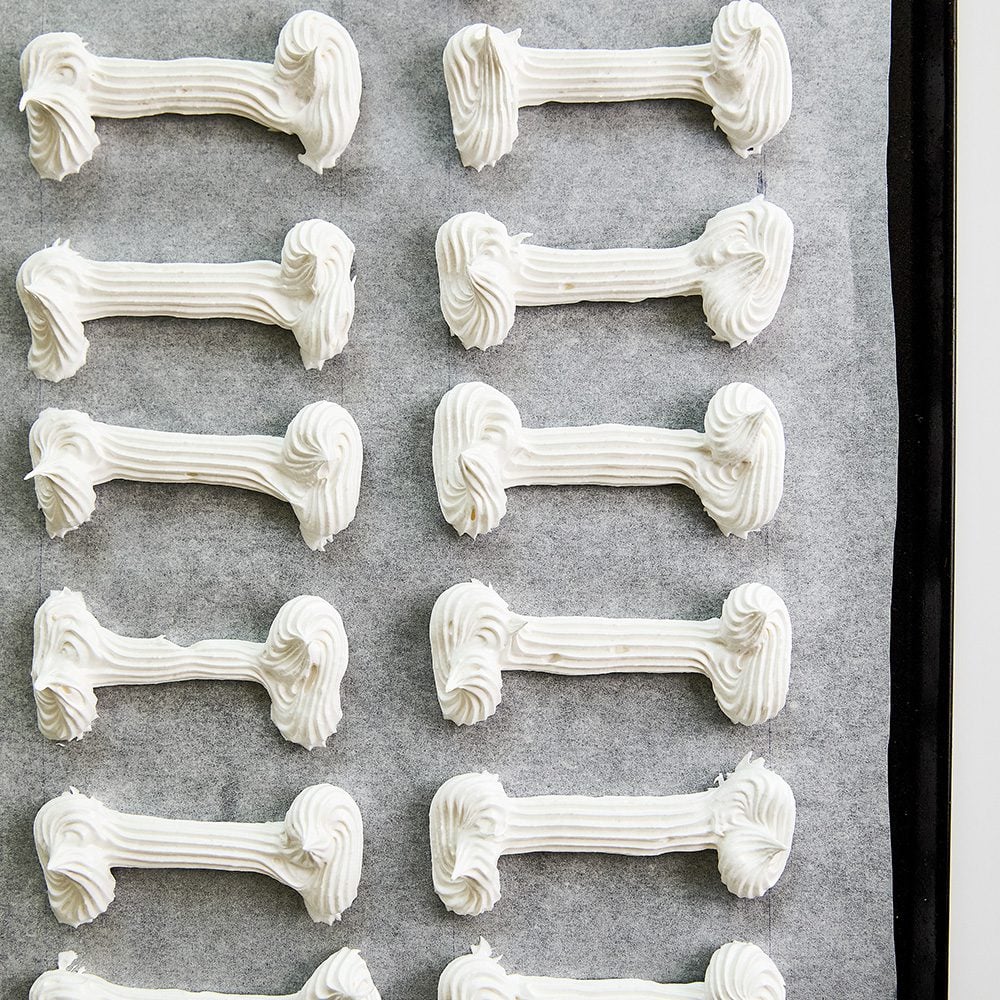
- Take the baking tray with the lines drawn on it and pipe 8cm columns between the lines, using them as a guide. Make them as fancy or plain as you like – I’ve gone for columns with scrolls at each end. You should get around 7-8 columns per line and 3 sets in total (so 21-24 columns overall).
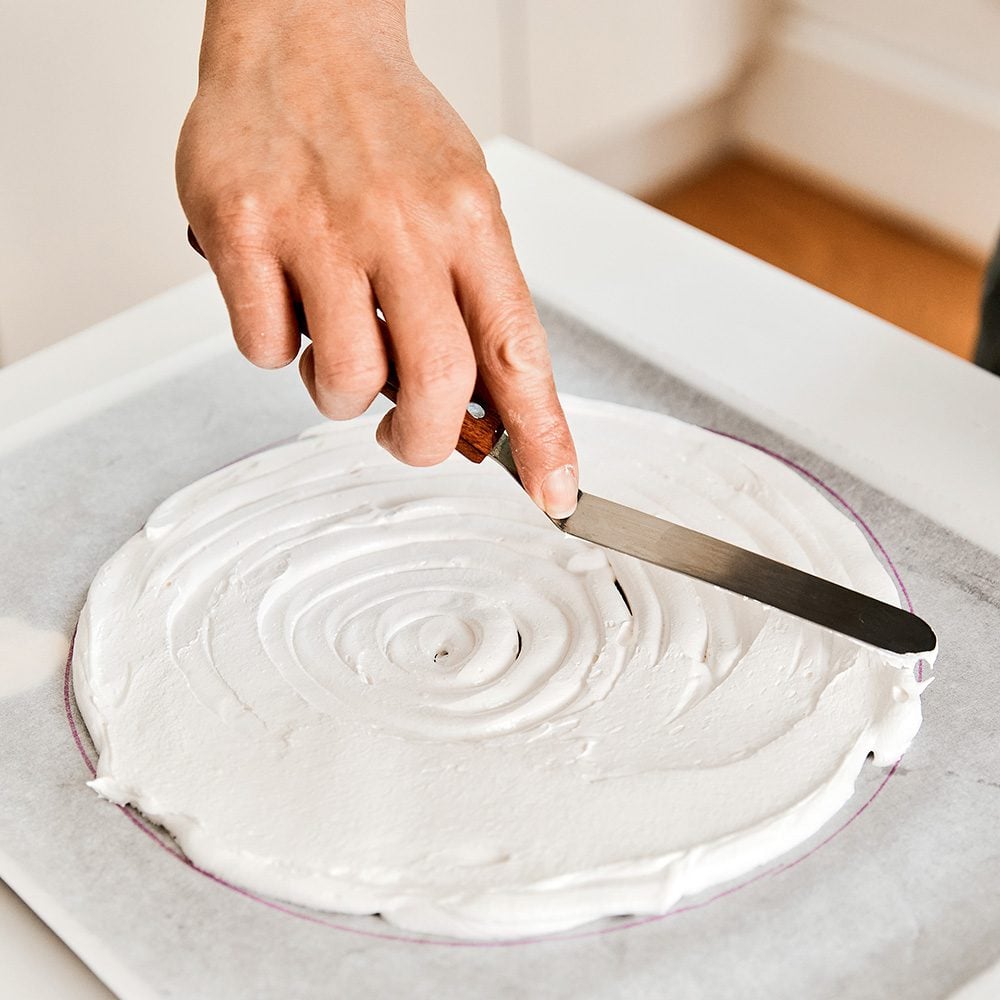
- Swap the piping tip to a plain one (see Tips), then pipe the remaining meringue onto the 2 circles on the other baking sheets. To get an even layer of meringue, pipe thick concentric circles, then gently smooth them together using a palette knife.
- Put all 3 baking sheets of meringue in the oven for 2 hours, then switch the oven off and leave the trays in there for at least another 2 hours (or overnight).
- When you want to assemble the plinth, put the cream, icing sugar and vanilla extract in a bowl and whisk to stiff peaks (that won’t flop over when you lift the beaters or whisk out). Put one of the discs of meringue on your cake stand or serving plate, then spread around 400g of the cream on the base, building it up at the edges like a nest and making sure the edges are level. Add around 350g of the mixed fruit in the middle – save your prettiest fruit for the top layer.
- Put the second disc of meringue on top, then fill in any gaps around the edge with more cream, smoothing down the sides with a palette knife.
- Stick the columns at even intervals around the edge of the meringue plinth, using the cream as glue. Smooth any leftover cream onto the top disc, then arrange your remaining fruit artfully on top.
Nutrition
- 346kcals Calories
- 24g (15g saturated) Fat
- 2g Protein
- 30g (30g sugars) Carbs
- 0.6g Fibre
- 0.1g Salt

Leave a comment, question or tip