Caramelised white chocolate
- Published: 4 Mar 24
- Updated: 15 Oct 24
Fans of blond bars such as Caramac (sadly now discontinued) know there’s a fourth type of chocolate out there: caramelised white chocolate. It sounds cheffy but it’s easy to make at home.
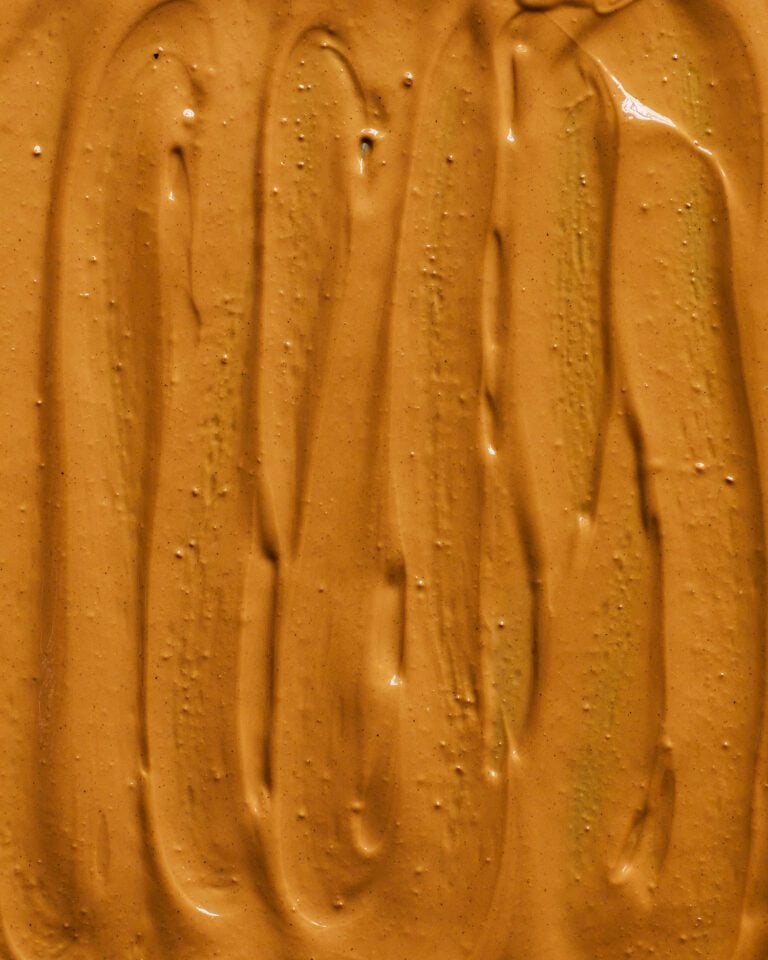
Manufactured gold chocolate bars tend to be a mixture of white chocolate and sugary caramel, rather than caramelising the sugars already present in the chocolate, hence caramelised white chocolate is slightly less sweet than its ready-made counterparts. Homemade, it has a rich, deep flavour that balances the sweetness beautifully.
Once the chocolate is caramelised, you can either use it right away or cool it and let it solidify to use later. It’ll last as long as regular white chocolate, so it’s worth making a big batch then, once cooled, chopping it into chunks to use in baking. You can make this recipe with any amount of white chocolate – provided it’s not tiny or huge.
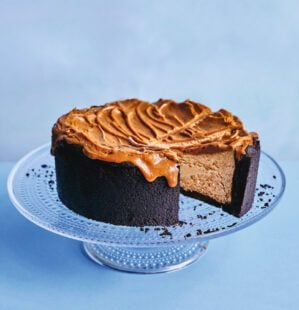
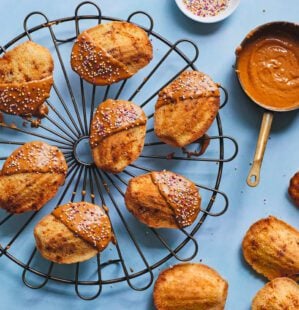
Try it in this fabulous caramelised white chocolate cheesecake – or delicate madeleines.
-
Makes 200g
Ingredients
- 200g good quality white chocolate (or any quantity, between 50g and 500g, to suit your recipe)
Method
- Heat the oven to 110°C fan/gas 3⁄4. Chop your chosen quantity of white chocolate into small pieces, put it on a non-stick baking tray (or tray lined with baking paper) in a single layer and roast for 1-1 1⁄2 hours, stirring the chocolate every 10 minutes with a silicone spatula (see Tips). It will melt, then turn grainy and lumpy, then become uniform again, darkening in colour throughout. It’s ready when it’s silky smooth, spreadable and caramel in colour.
- Scrape onto a plate or another tray to cool completely if you plan to use it later, or use it straight away if the recipe calls for the chocolate to be melted.
- Recipe from March 2024 Issue
Nutrition
- Calories
- 1064kcals
- Fat
- 62g fat (37g saturates)
- Protein
- 16g protein
- Carbohydrates
- 111g carbs (111g sugars)
- Fibre
- 0g
- Salt
- 0.6g salt
delicious. tips
The stirring is key; skip this and the sugars will cook unevenly, resulting in burnt bitter bits. Use a silicone spatula as it allows you to move and stir every bit of chocolate.
Don’t panic if the chocolate turns chalky and lumpy halfway through – that’s just the chocolate separating out as it goes beyond the point of ‘melted’. As you continue to heat and stir, it will come together again into a uniformly smooth texture with a golden hue.
Buy ingredients online
Rate & review
Rate
Reviews
Subscribe to our magazine
Food stories, skills and tested recipes, straight to your door... Enjoy 5 issues for just £5 with our special introductory offer.
Subscribe
Unleash your inner chef
Looking for inspiration? Receive the latest recipes with our newsletter
